


How to install a Remington 700 stock
The Remington 700 is one of the most popular rifles among hunters, sport shooters, and military and law enforcement personnel. It's known for its accuracy, reliability, and durability, and has been in production for over 50 years. One of the key features of the Remington 700 is its ability to be customized and upgraded with aftermarket stocks and chassis.
Why it's important to upgrade your Rem700 stock
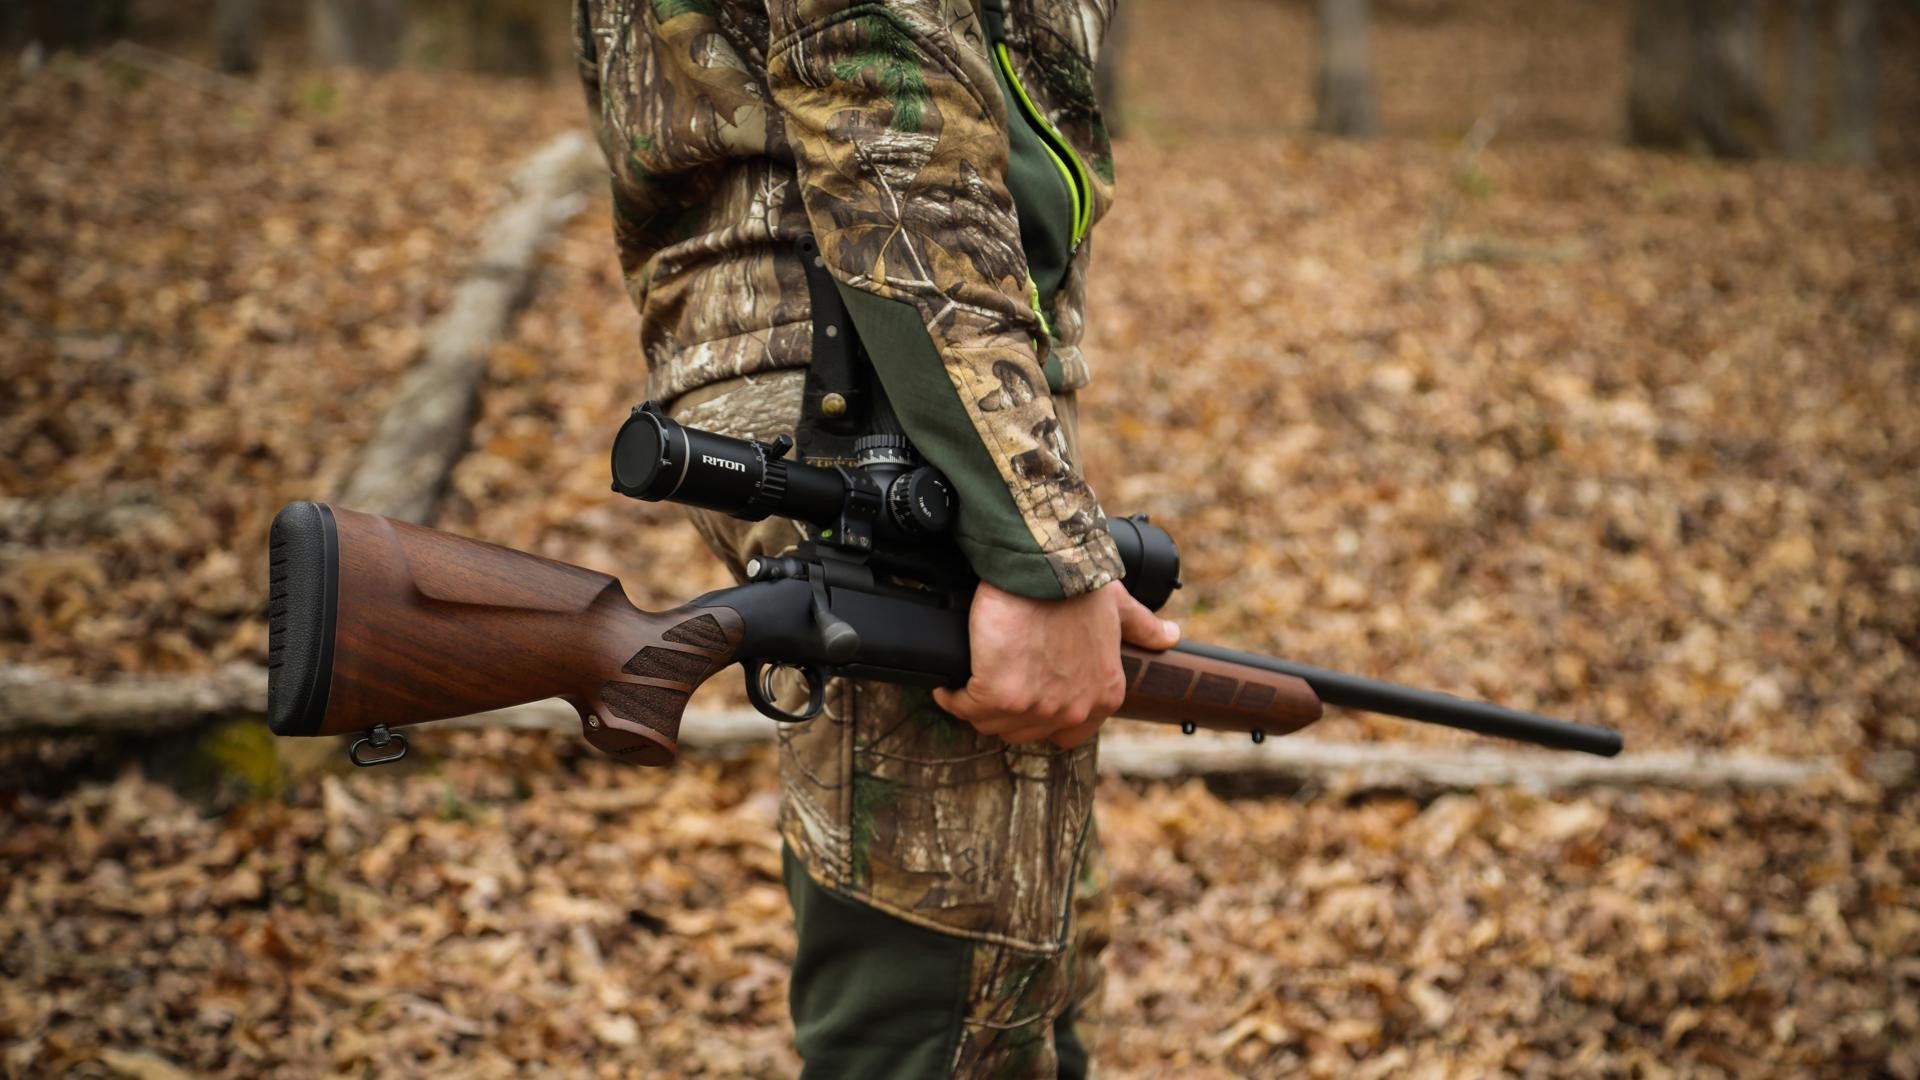
First, let's take a closer look at the stock of the Remington 700. The stock is the part of the rifle that holds the action and barrel, and provides a comfortable and stable platform for the shooter to hold and aim the rifle. The original stock of the Remington 700 is made of wood or synthetic material, and while it may be functional, it may not meet the needs of every shooter.
One of the main reasons to upgrade the stock of your Remington 700 with a new aftermarket stock or chassis is to improve the ergonomics and comfort of the rifle. An aftermarket stock or chassis can be customized to fit the shooter's body and preferences, resulting in a more comfortable shooting experience.
A new stock or chassis can also provide a more stable shooting platform, reducing recoil and improving accuracy.
Another reason to upgrade the stock of your Remington 700 is to improve the rifle's accuracy. An aftermarket stock or chassis can improve the rigidity of the rifle's barrel, resulting in less flex and better accuracy. It can also reduce vibration, which can affect accuracy at longer ranges.
In addition to improving comfort and accuracy, upgrading the stock of your Remington 700 can also provide additional features and functionality. For example, ours aftermarket stocks and chassis may have adjustable cheek rests, allowing the shooter to obtain the proper cheek weld and improve accuracy. Some aftermarket stocks or chassis may also have built-in rail systems, allowing for easy attachment of accessories like bipods or sling swivels.

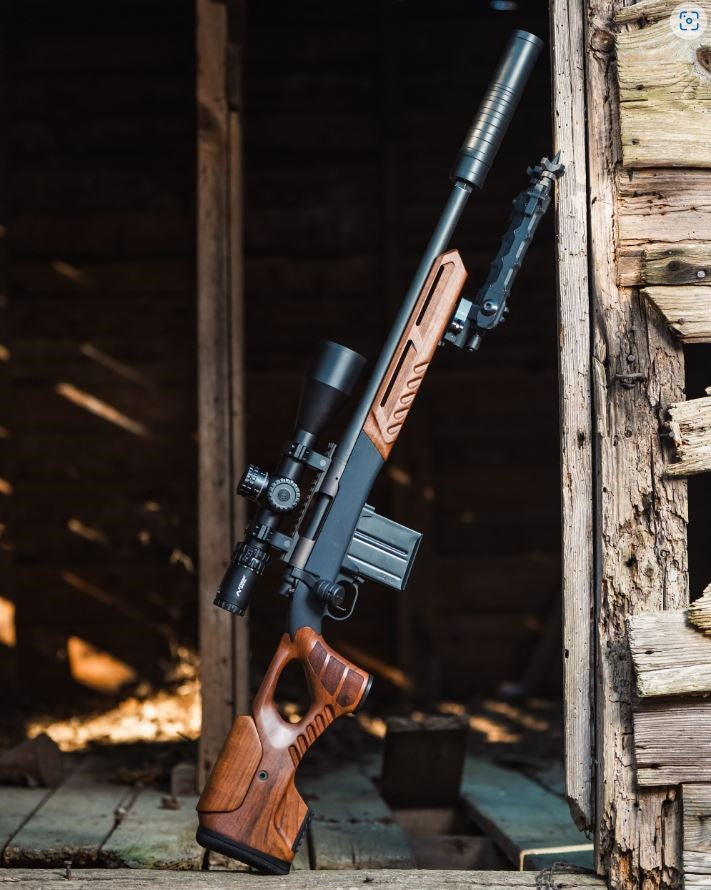
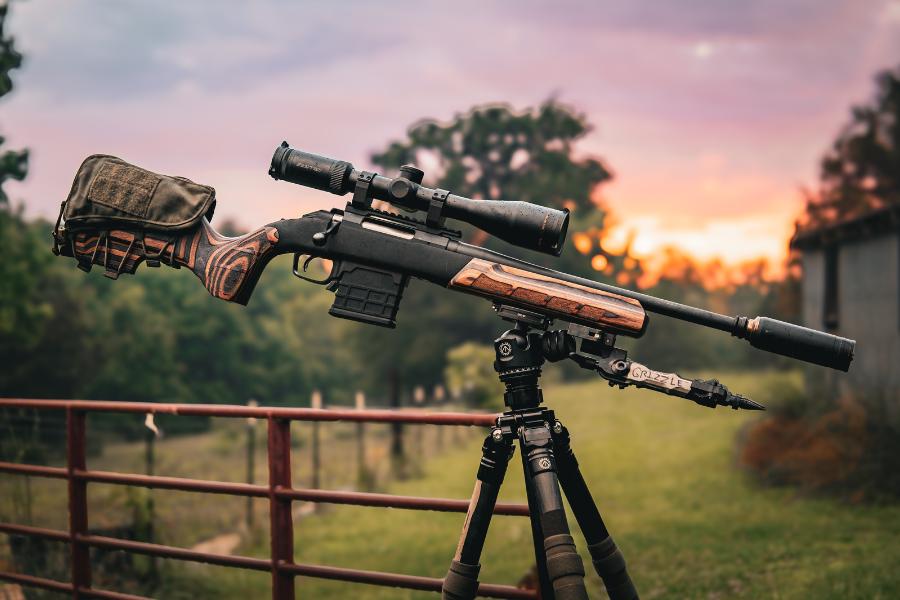
WOOX r700 stocks and chassis
Explore OUR LINEHow to install your new r700 stock
Installing an aftermarket stock on a Remington 700 rifle is a relatively straightforward process. However, it does require some technical knowledge and the use of certain tools. The following is a detailed procedure for installing an aftermarket stock on a Remington 700 rifle.
TOOLS AND SUPPLIES NEEDED
• Remington 700 rifle
• Aftermarket stock
• Hex wrench set
• Screwdriver set
• Torque wrench
• screwdrivers
• Action wrench
• Barrel vise
• Sandpaper
• Loctite
the process
Step 1: Unload the rifle
Make sure the rifle is unloaded by removing the magazine and checking the chamber.
Step 2: Disassemble the rifle
Remove the barreled action from the old stock. First, remove the stock bolts using a hex wrench. Then, gently separate the barreled action from the stock. Be careful not to damage any of the parts during this step.
Step 3: Prepare the new stock
If necessary, prepare the new stock for installation. remember: WOOX stocks are drop in system so they do not require bedding or other modifications to ensure proper fit and alignment.
Step 4: Install the barreled action into the new stock
Insert the barreled action into the new stock, being careful to align the recoil lug and action screws. Tighten the action screws by hand until snug.
Step 5: Apply Loctite to the action screws
Apply a small amount of Loctite to the threads of the action screws. This will help to prevent them from loosening over time.
Step 6: Tighten the action screws
Using a torque wrench, tighten the action screws to the manufacturer's recommended torque settings. This is typically around 65 inch-pounds, but consult your stock and/or rifle manufacturer for specific recommendations.
Step 7: Check for proper alignment
Check to ensure the action and barrel are properly aligned in the stock. Make sure there is adequate clearance between the barrel and stock. If there is any interference or rubbing, use a Dremel tool to carefully remove material from the stock until there is proper clearance.
Step 8: Test fit and adjust as necessary
Test the fit and function of the rifle with the new stock. If any adjustments or modifications are necessary, make them now.
Step 9: Final assembly
Reassemble the rifle, making sure all parts are properly aligned and tightened to their recommended torque settings.
Step 10: Function check
Test the function of the rifle to ensure everything is working properly. Check the safety, trigger, and bolt operation.
And that's it! With these steps, you should be able to install an aftermarket stock on your Remington 700 rifle. It's important to take your time, be careful, and follow all manufacturer's instructions to ensure a safe and functional rifle. If you're unsure about any part of the installation process, don't hesitate to seek the advice of a professional gunsmith.


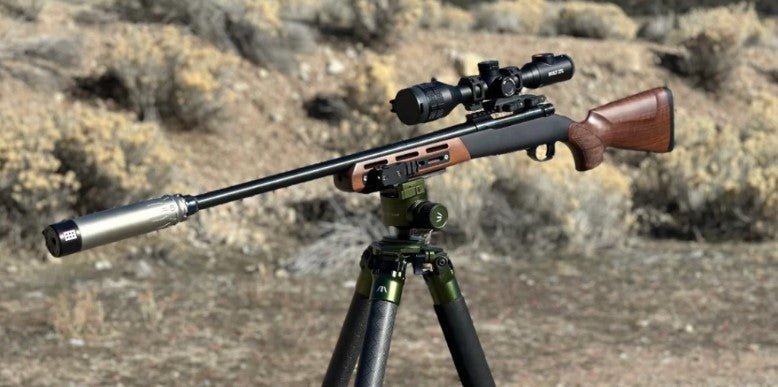
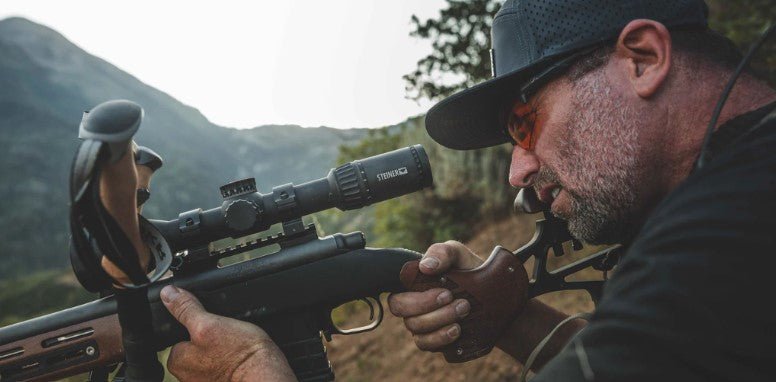
How to run a field test after installing the new stock
In addition to the sentimental and cultural value of owning a high-quality rifle, it can also be a good investment for resale value.
After installing a new stock on a Remington 700 rifle, it's important to run a field test to ensure the rifle is functioning properly and the new stock is properly installed. Here are the steps for running a field test after installing a new stock
Step 1: Inspect the Rifle
Before firing the rifle, give it a thorough visual inspection to ensure there are no obvious defects or issues that could affect its safety or accuracy. Check the barrel, action, trigger, and other components to ensure they are properly aligned and functioning.
Step 2: Select and Set Up Shooting Range
Choose a safe shooting location, and set up targets at a reasonable distance for the type of ammunition being used. Set up a shooting rest or bipod to help stabilize the rifle during testing.
Step 3: Load and Fire the Rifle
Load the rifle with ammunition and fire a few shots at the target. Focus on shooting groups to test the accuracy of the rifle. If the rifle is not shooting accurately, it may indicate that the new stock is not properly installed or bedded. Take note of any issues, and continue to test the rifle.
Step 4: Test Rifle Function
Continue firing the rifle to ensure it is functioning properly. This includes checking the safety, trigger, bolt operation, and other components of the rifle. Pay attention to any unusual noises, vibrations, or other indicators of problems.

Step 5: Make Adjustments and Re-TestIf any issues are identified during the field test, make the necessary adjustments and re-test the rifle. This may include adjusting the bedding of the new stock or making other modifications to improve accuracy and performance.
Step 6: Clean and Maintain the Rifle
After the field test is complete, clean and maintain the rifle to keep it in good condition. This includes removing any fouling from the barrel and action, lubricating moving parts, and checking the stock and other components for any signs of wear or damage.
By following these steps, you should be able to run a field test after installing a new stock on your Remington 700 rifle, and ensure it is functioning properly and accurately. Remember to always follow proper safety protocols when handling firearms, and seek the advice of a professional gunsmith if you are unsure about any aspect of the installation or testing process.

By following these steps, you should be able to run a field test after installing a new stock on your Remington 700 rifle, and ensure it is functioning properly and accurately. Remember to always follow proper safety protocols when handling firearms, and seek the advice of a professional gunsmith if you are unsure about any aspect of the installation or testing process.
Keep Reading
Ruger American Ranch Stock Compatibility Guide: What To Verify Before You Buy
Not every Ruger American Ranch uses the same stock inlet. Learn how magazine systems, Gen I vs Gen II differences, barrel contour, and fitment affect Ruger American Ranch stock compatibility.
How to Read a Firearm Stock Fitment Table Before Buying a Rifle Stock
Learn how to read firearm stock fitment tables before buying a rifle stock. Understand action length, magazine systems, bottom metal, barrel contour, and compatibility requirements.
Stock Inlet Terms Explained: Action Footprint, Barrel Channel, Bottom Metal, and Magazine Cut
What action footprint, barrel channel, bottom metal, and magazine cut mean in rifle stock fitment so you can choose the right stock with confidence.
Sling Mounting Options for Hunting Rifles: Studs, QD Cups, M-LOK, and Carry in the Field
Compare sling studs, QD cups, and M-LOK sling mounts for hunting rifles. See how mounting position affects carry comfort, rifle balance, and field handling.