GUN PARTS
AXES
KNIVES
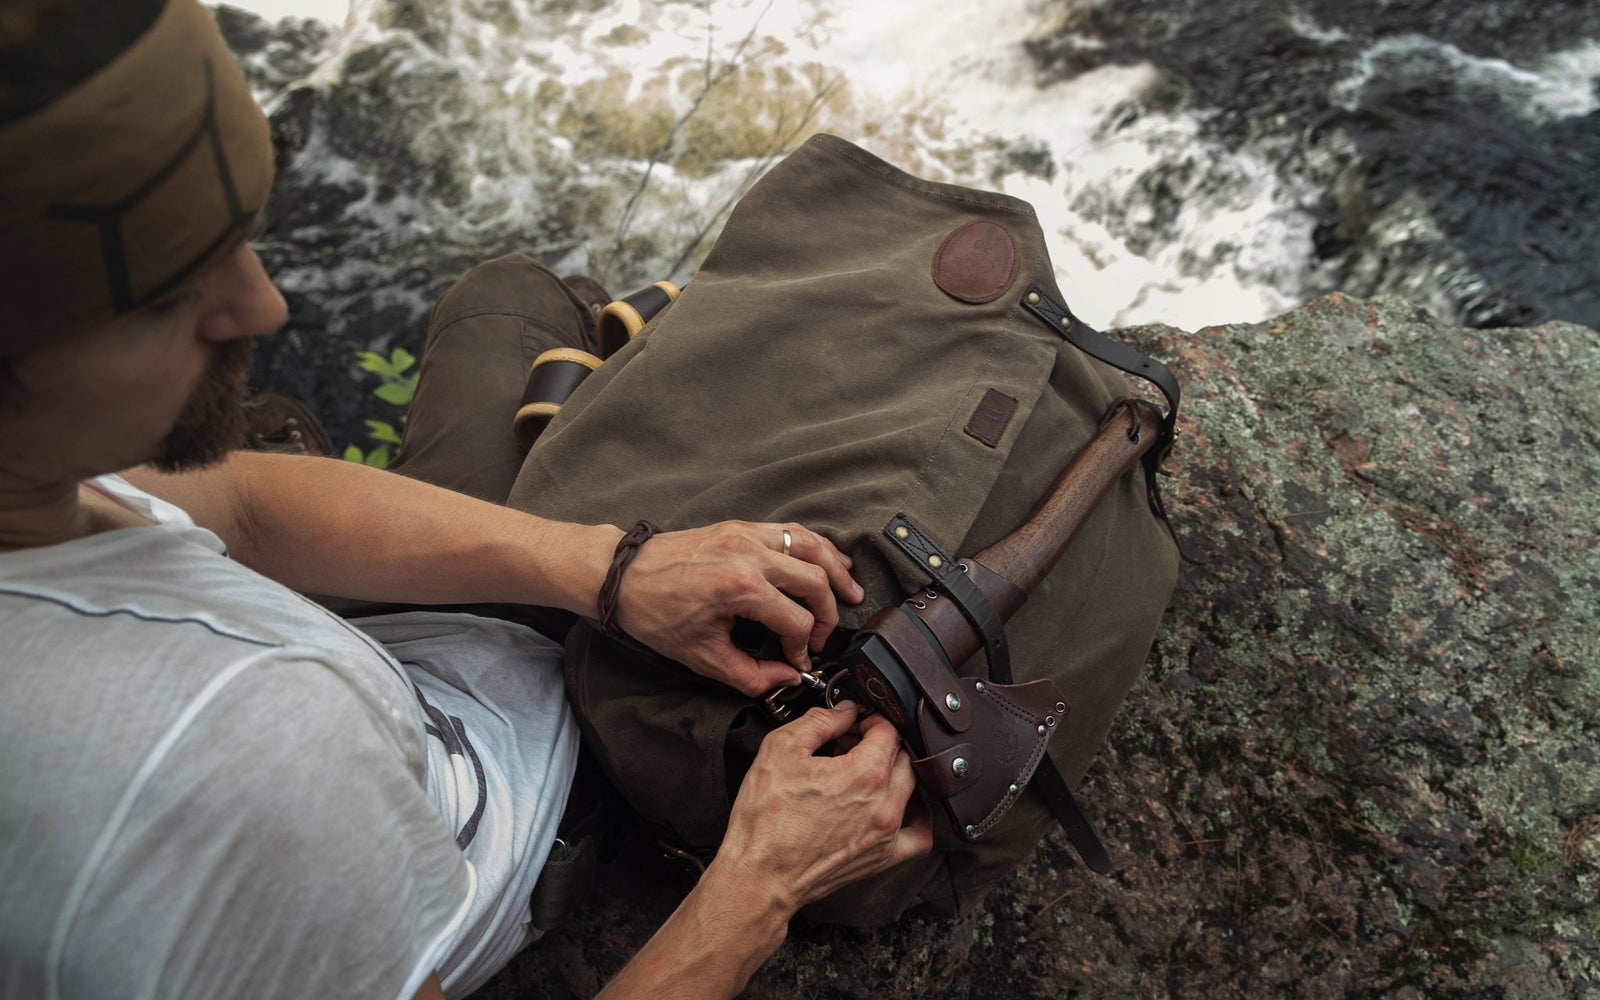
A heavy burden to bear: 3 tips to help you pick your hiking backpack
April 19, 2021 4 min read
There's something about hiking that I find soothing. Part of it is that you must slow down and take the world at a walking pace. Another piece is how much closer to nature you feel without all the trappings of urban life around. Even though a part of it is the lack of distractions, there is still a certain amount of gear you must take with you. One of the most important choices you will make is how you will carry that gear. Let's talk about the Do's and Don’ts of picking your backpack.
Different activities require different kinds of packs. Military packs are different from hiking packs are different from travel packs are different from everyday packs. While any backpack will haul cargo, using a school pack for hiking is a sure way to have a terrible time on the trail. For purposes of this article, we’re going to talk about hiking packs. (We won’t be discussing ultralight packs here, though we can in another article. Let us know in the comments if you would like us to talk about that!)
Pick the right size pack!
Backpacks are sized by volume and is usually expressed in liters. Most manufacturers find a pack's volume by starting with the volume of the main compartment and adding in the volumes of any zippered compartments on the outside of the pack or hip belt. Keep in mind that some makers also add in the capacity of open topped pockets and mesh pockets as well. Make sure you know how your pack’s volume was calculated so you can plan your gear accordingly.
Daypacks, as the name suggests, hold enough supplies for a one-day jaunt. Packs sized in the 20-to-35-liter range fall into this category. Weekend sized packs are in the 45-to-50-liter range. Multi day packs suitable for up to 5-day excursions are from 50 to 70 liters. Expedition sized packs are 80 liters and up.
Which size pack you want obviously, then, depends on how long you plan to stay out. Longer trips require more stuff, which means a bigger pack. The anticipated weather can affect your gear as well. For example, colder weather requires bulkier gear. Thick clothing and better insulated sleeping gear take up more space.
Know how to FIT your pack!

Regardless of how much gear your pack will hold, it NEEDS to fit you properly. For example, a smaller pack that doesn't fit you will tire you out faster than a large pack that DOES fit. Here’s a rundown of how to ensure that your pack will fit YOU.
Torso Length is the measurement of the pack from the line of the hip belt to the shoulders. To find get this measurement use a cloth tape measure and, starting at your C7 vertebrae, run it down your spine until you reach the line between the tops of your hip bones (your Iliac Crest). Your hip belt should rest on the tops of your hip bones when your pack’s torso length is properly fitted to you. Some packs have a fixed torso length while some are adjustable.
Your hip belt should extend around your hips with the padded portions being around 6 to 8 inches apart in the front, with the adjustable portions extending to the middle, meeting at the buckle. On a hiking pack the padding on a hip belt should be generous and relatively stiff (though there should be some give to it) to support the weight of your pack. Some packs have belts with moldable padding that you can form to your hips with a heat gun. I like the belt to have zippered hip pockets so I can store small items I want to reach quickly.
Your pack’s shoulder straps should conform to your upper back and shoulders. They should be lightly padded, and they should be curved. The padded part should end 2 to 3 inches below your armpits. There should be a buckle at that point, and they should be adjustable from there. A sternum strap is extremely helpful.
Your pack’s back panel will most likely be padded, with an open mesh surface and one or more ventilation channels. There will most likely be some aluminum stays to give it some rigidity, or possibly a polymer frame sheet. Some packs even have a system that suspends it a little way off your back so air can freely pass.
To make sure your pack fits first go to a store with a good selection of hiking packs. Select one with the proper torso length (or adjust one with this feature). Put some weight in it (many stores have weights for this purpose) and put it on your back. Set the hip belt on your Iliac Crest and tighten it down. Then tighten up your shoulder straps and fasten the sternum strap. Adjust the load lifter straps until they are at approximately a 45-degree angle. Most of the weight should be on your hips and the shoulder straps should be tight against your shoulders. Walk around for a while. Jump up and down a bit and move side to side. You want to ensure that the pack is staying in place without excess movement. You are also seeing if it pinches you anywhere or is otherwise uncomfortable.
Think about the “custom features” you want

Finally, you want to consider your pack’s “custom features”. As I previously said, I like to have pockets on my hip belt. I also like to have a separate compartment on the bottom for my sleeping gear, as well as several pockets to stash things like a light jacket, maps, first aid kit, and other small items I might not want to empty my pack to find. Many packs have a “brain” that straps to the top for just this sort of thing. Attachment points for tying on other gear are good things, as are side and top compression straps. These let you tighten down the pack, so your load is less likely to shift.
So now all you have to do is get to an outfitter, try on some packs, and hit the trail! Drop a comment and let us know if we missed something, and please tell us if this post helped you out!
Leave a comment
Comments will be approved before showing up.
Also in Woox Journal

Henry HUSH & Bravado High Grade Series: A Suppressed Lever‑Action Rig Built for the Hunt
February 06, 2026 1 min read
The Bravado High Grade Series blends classic lever action with modern optics and suppression, creating a versatile, quiet hunting rifle ready for any terrain.

Woox Edge MP5K Build Guide — Suppressed Precision & Tactical Performance
January 28, 2026 1 min read
Turn a classic HK MP5K into a next-level tactical rig with quality upgrades like Midwest Industries rails, B&T suppressor, Cloud Defensive REIN light, and EOTech EXPS3-0 optic for unmatched performance.

Bergara for Furiosa Walnut: Precision in the Backcountry
January 12, 2026 1 min read
Furiosa Walnut blends the Bergara Crest 6.5 PRC rifle with Burris Veracity PH optics, JK RPX‑30 suppressor, and protective Burnproof wrap for rugged backcountry precision.
STICK AROUND AND STAY UPDATED!
Want the latest promotions, expert tips, and a cool sticker set?
Subscribe to our newsletter today.
Spam? Not on our watch!


