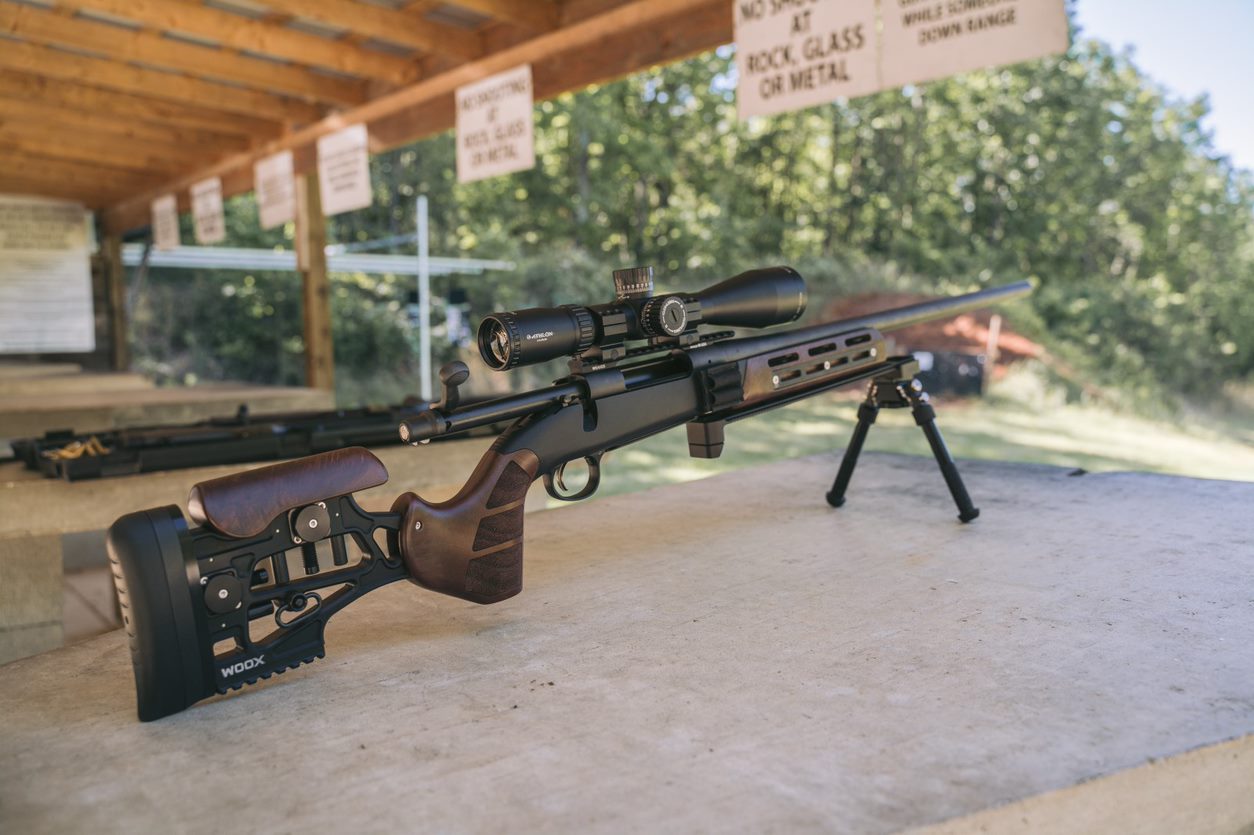
MOA - What it is, and how to use it to zero your rifle.
If you’ve been shooting a rifle for any length of time, you’ve doubtless heard the phrase “Minute of Angle”. While you’ve probably heard it, you might not quite understand it. Let’s take a few minutes and discuss what Minute of Angle is, and how to use it to zero your rifle.
What is MOA?
Minute of Angle, also called “MOA”, is a way of describing the angle of a rifle’s muzzle in relation to the target. Imagine a giant circle starting at the target and curving above you and going behind you. This theoretical circle keeps going underneath you until it eventually ends up back at the target. Now imagine that your muzzle is at the center of this circle.
As you might remember from your school days, every circle has 360 degrees of arc. Each one of those degrees of arc is further divided into 60 minutes. One MOA is equal to one of those minutes.
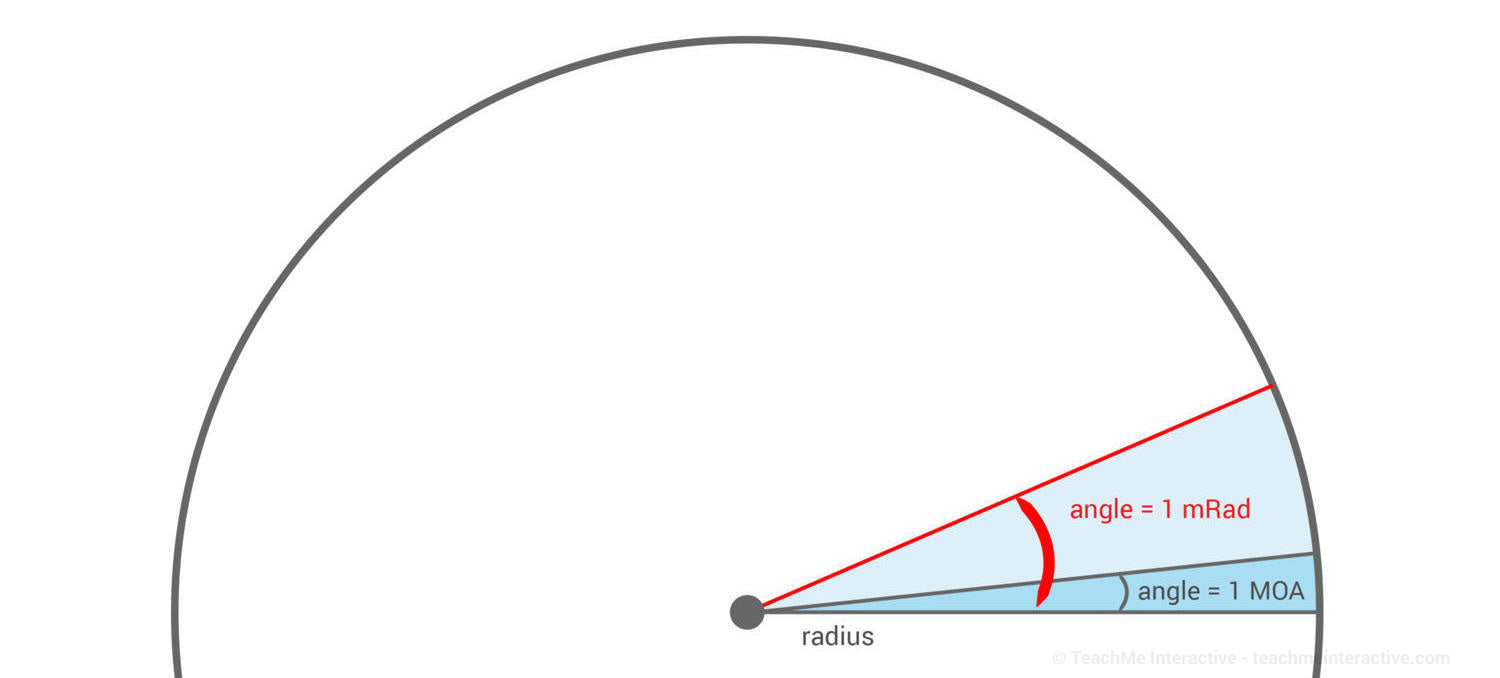
Thanks to MOA shooters can correct the position of the reticle inside the scope, based on wind deflection and trajectory of the bullet at the target’s distance.
WHY MOA IS SO IMPORTANT
It has to do with the ballistic trajectory of a projectile. In other words, the farther from the muzzle a bullet goes, the more effect gravity has on it- and the more it drops below level. If you know how much a given bullet will drop from your rifle at a particular range, you can then elevate your muzzle to the appropriate angle to compensate for the drop.
1 MOA is approximately one inch across at 100 yards. That gap scales up and down with the distance from the gun to the target. For instance, at 50 yards, the distance between the two rays in one MOA is just over ½ inch across. At 400 yards, that distance is a bit over 4 inches

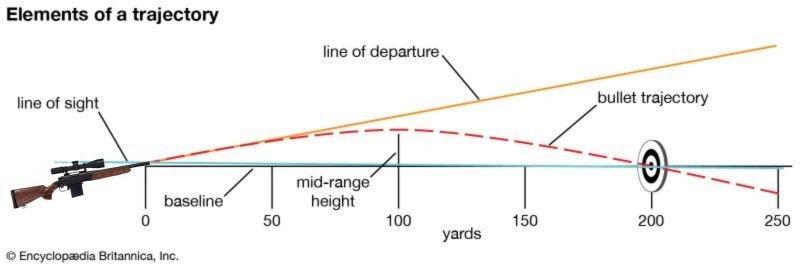
Visual example not in scale
1 MOA size chart
| Distance (yards) | 1 MOA Size (inch) | 1/2 MOA (inch) |
|---|---|---|
| 25 yards | .262 inch | .131 inch |
| 50 yards | .524 inch | .262 inch |
| 100 yards | 1.047 inch | .524 inch |
| 200 yards | 2.094 inches | 1.047 inch |
| 300 yards | 3.141 inches | 1.571 inches |
| 400 yards | 4.188 inches | 2.094 inches |
| 500 yards | 5.235 inches | 2.618 inches |
| 600 yards | 6.282 inches | 3.141 inches |
| 700 yards | 7.329 inches | 3.665 inches |
| 800 yards | 8.376 inches | 4.188 inches |
| 900 yards | 9.423 inches | 4.712 inches |
| 1000 yards | 10.470 inches | 5.240 inches |
For example, according to gundata.org Winchester American Eagle FMJ 150grn boattail .308 will drop 3.6576 inches at 200 yards. Since we know this information, we can calculate exactly how many MOA to elevate our muzzle in order to hit the bullseye at 200 yards.(read the section below).
How do we know how much to elevate our muzzle?
We can decide how many MOA we need to elevate our muzzle by understanding the following information:
For every 100 yards of range, one MOA equals one inch of deviation on target. In other words, at 100 yards if we move our muzzle one MOA our bullet will impact one inch in the same direction. If we go one MOA up at our muzzle, our impact will be one inch high.
What if we move our muzzle one MOA to the left? In that case, our bullet will hit one inch to the left, and so forth.
Keep in mind that the deviation increases as the range increases.
So how do we use MOA to zero a rifle?
To use MOA to zero our rifle, we need to know the distance to the target and the amount of drop the bullet we’re using has. If I don’t know a load’s ballistic information, I use the following process to get my rifle sighted in.
First, you need to get the thing on paper. The easiest and least ammunition-intensive way to do that is with a laser boresight. I like the type that is shaped like a cartridge and goes in the rifle’s chamber. The kind that goes in the muzzle works just as well.
Set up your target at a reasonably close distance.
I generally use 25 yards, but 50 yards will work if your eyes let you see that far. Place the laser’s dot on the bullseye while your rifle is held in a mechanical rest or otherwise secured. Now you adjust your reticleso that your aim point covers the laser’s dot. This should get you close, and you should at least be on paper.
Next, if I haven’t decided on the load I plan to use, I leave my rifle in the rest and shoot three-shot groups with different loads. I pick the tightest group. Then I measure the distance from the center of the bullseye to the center of the group. If the center of the tightest group is 3 inches high I know I need to come down 12 MOA. This is because ¼ inch = one MOA at 25 yards. How much adjustment I need to make with my scope’s turret is dependent upon the scope. Some scopes adjust at one MOA per click, some at ½, some at ¼ (see table below).
HOW MANY CLICKS TO SIGHT MY RIFLE SCOPE?
In the table below you can find the number of clicks necessary to adjustyour rifle scope based on your turret setting, distance and bullet drop.
1 MOA TURRET adjustment chart
| Distance (yards) | Bullet Drop 1 Inch | 5 Inches | 10 Inches | 15 Inches |
|---|---|---|---|---|
| 25 yards | 4 clicks | 20 clicks | 40 clicks | 60 clicks |
| 50 yards | 2 clicks | 10 clicks | 20 clicks | 30 clicks |
| 100 yards | 1 clicks | 5 clicks | 10 clicks | 15 clicks |
| 200 yards | 1 click | 3 clicks | 5 clicks | 8 click |
| 300 yards | - | 2 clicks | 3 clicks | 5 clicks |
| 400 yards | - | 1 clicks | 3 clicks | 4 clicks |
| 500 yards | - | 1 clicks | 2 clicks | 3 clicks |
| 600 yards | - | 1 clicks | 3 clicks | 3 clicks |
| 700 yards | - | 1 click | 1 click | 2 clicks |
| 800 yards | - | 1 click | 1 click | 2 clicks |
| 900 yards | - | 1 click | 1 click | 2 clicks |
| 1000 yards | - | 1 click | 1 click | 2 clicks |
These days, most scopes are made with ¼ MOA turrets. There are also ½ MOA, 1 MOA, and even very fine 1/8 MOAturrets available. Download the adjustment charts for these all these scenarios.
Example: if I have a ¼ MOA adjustment per click, a group that is 3 inches high at 25 yards means that I must come down 12 MOA. 12 MOA times 4 clicks per MOA means that I must turn my elevation turret 48 clicks down.
Once I’ve done so, I fire another group. If it’s on target I move out to 100 yards and fire yet another group and repeat the process.
This time, however, a 3-inch-high group would mean a 3 MOA adjustment. This is because one inch of deviation at 100 yards equals one Minute of Angle. In this case, a 3-inch-high group would need to be adjusted down 12 clicks (with a ¼ MOA turret).
In conclusion
I hope this helped you understand what Minute of Angle is and how to use it to zero your rifle. If you remember that MOA refers to the angle of your muzzle in relation to the target, you should have your hits in the bullseye with little difficulty. Assuming, of course, that you pay attention to your fundamentals and do everything else correctly! What process do you use to zero your rifle? Do you use a laser bore sight, or do you use some other method? Let us know in the comments below
This article is written by Mike Kreitzer. Mike is Editor of MK Outdoor Journal on YouTube, a Voting Member of the Professional Outdoor Media Association and Media Member of the National Shooting Sports Foundation.

SAVAGE® 110 WOOX stocks and chassis options
• Magazine Factory DM - Detachable
• Action Short/Long
• Bottom Metal DBM
• Bolt Release Configurations • Bottom Bolt Release • Top Bolt Release
• Supported Barrel Sporter / Medium Contour / Heavy Varmint Heavy
• Calibers Accepted 7mm Rem Mag / .300 Win Mag / .300 Rem Ultra Mag / .30-06 Sprg / .25-06 Rem / .270 Win / CIP/CIP+ Calibers / Others 338LM 4.050 actions are not compatible
Keep Reading
PSAK-47 GF3 & WOOX Forty Seven: Power Meets Heritage
The WOOX Forty Seven combines timeless craftsmanship and thoughtful design, creating an immersive, adventure-ready experience for those who seek the wilderness.
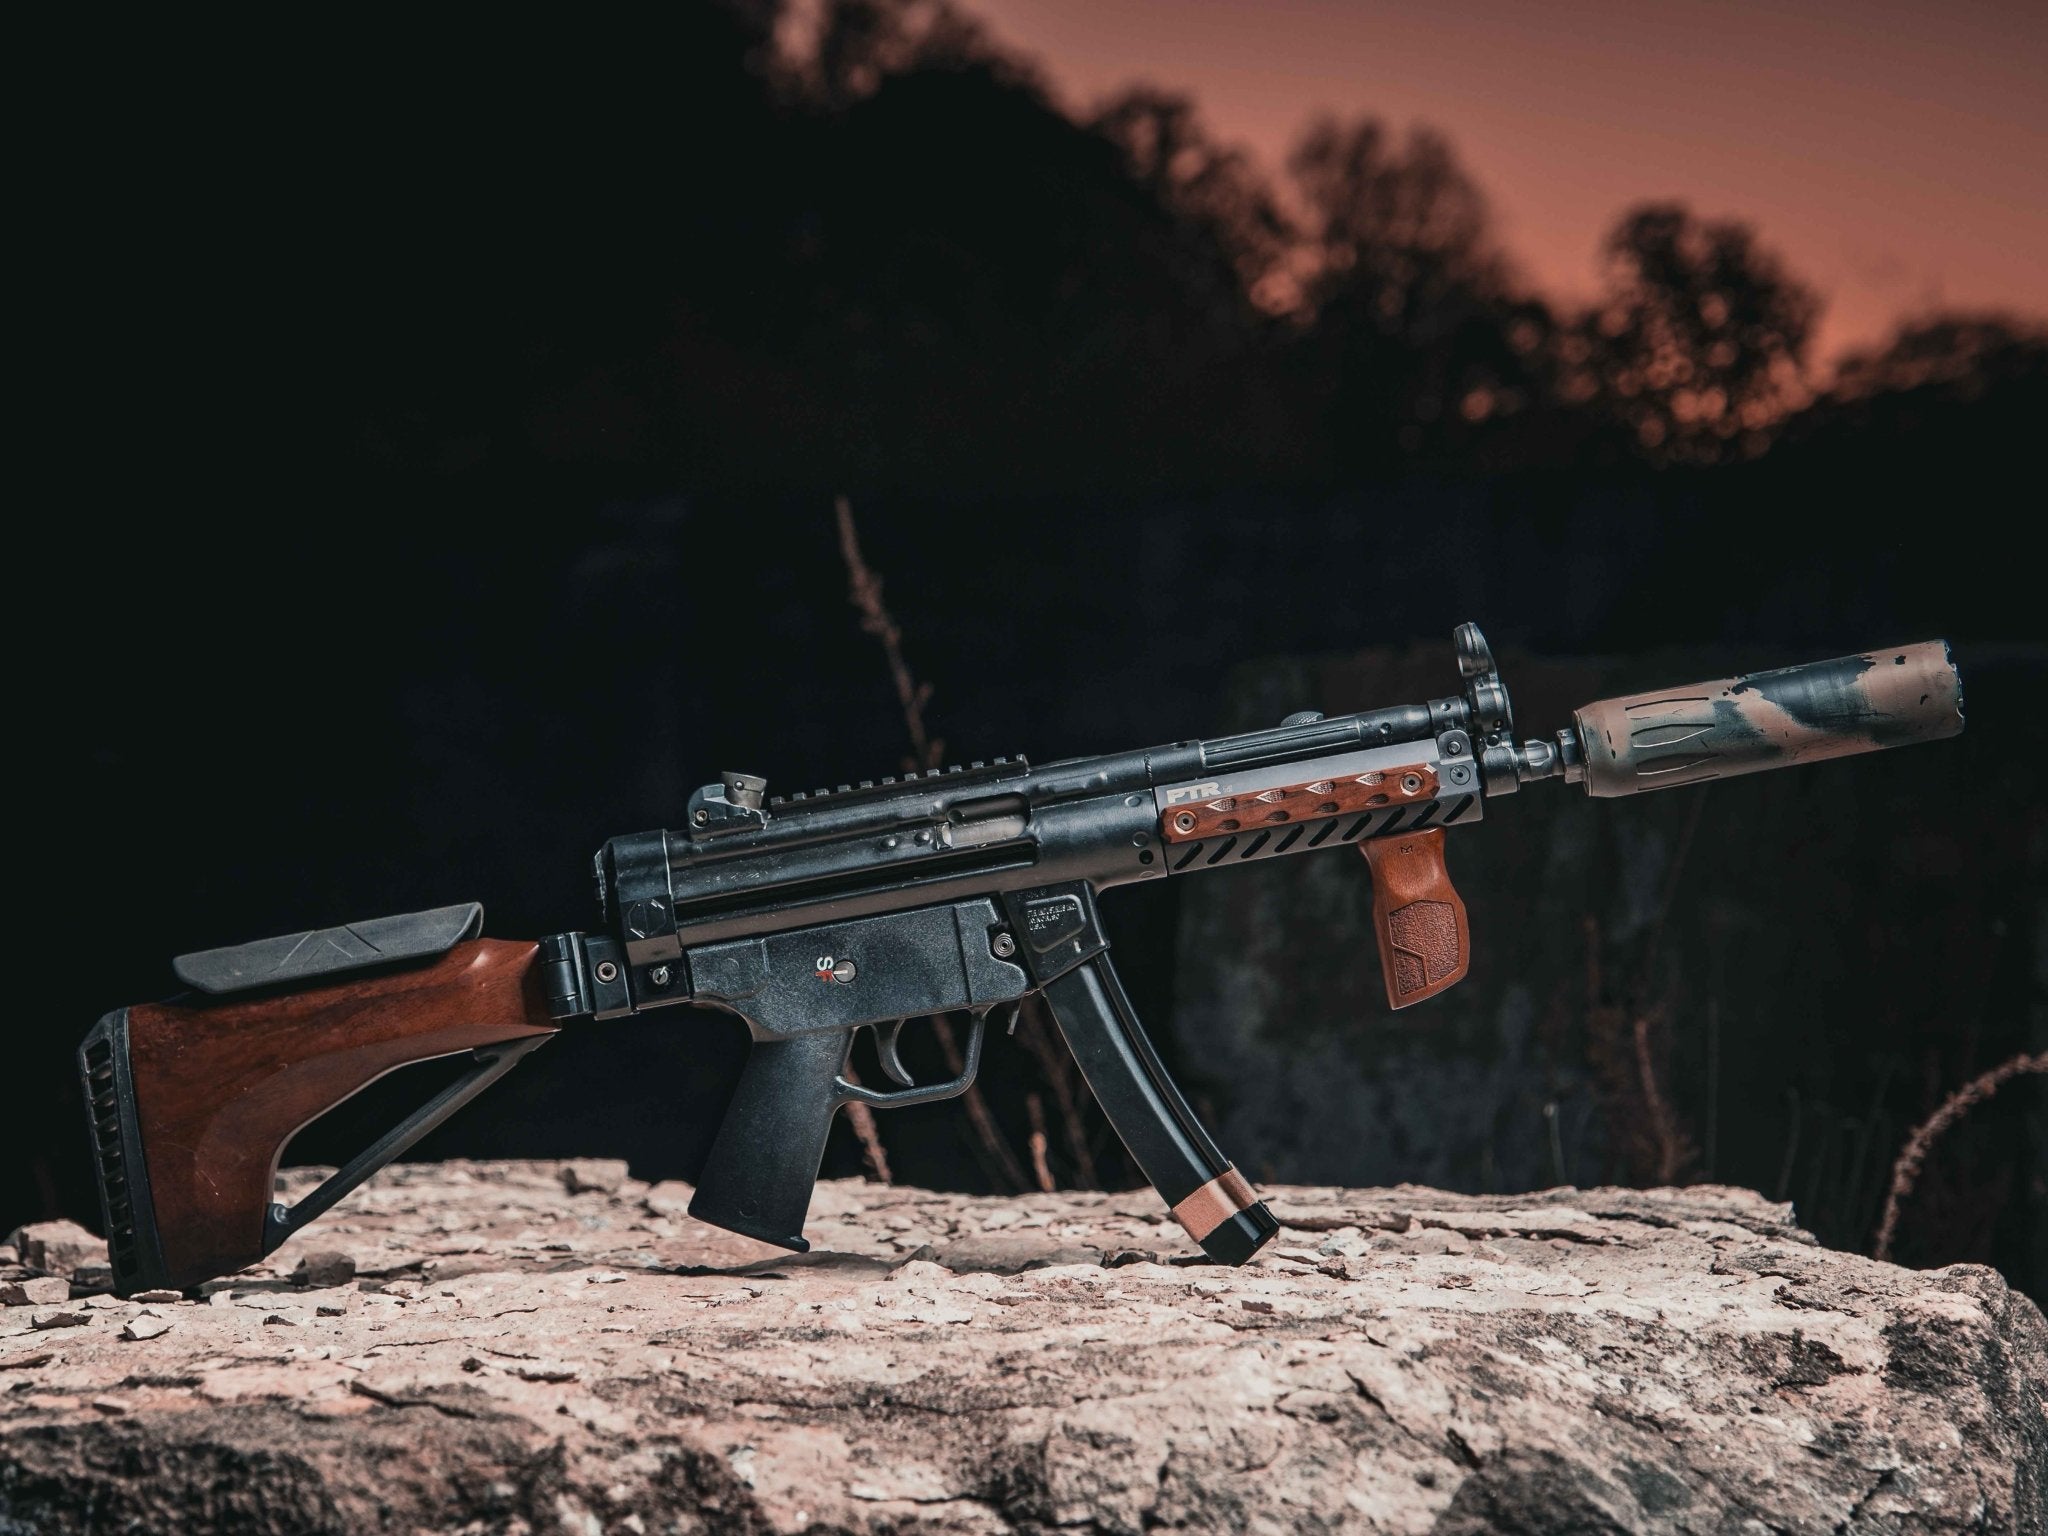
PTR 9CT: Stock, Grip & Rail Upgrades - WOOX 1913 WOODY
WOOX’s handcrafted American walnut stock, M‑LOK vertical grip and rail panels turn any rifle into a blend of classic craftsmanship and modern modular performance — perfect for hunters and shooters who value both heritage and function.
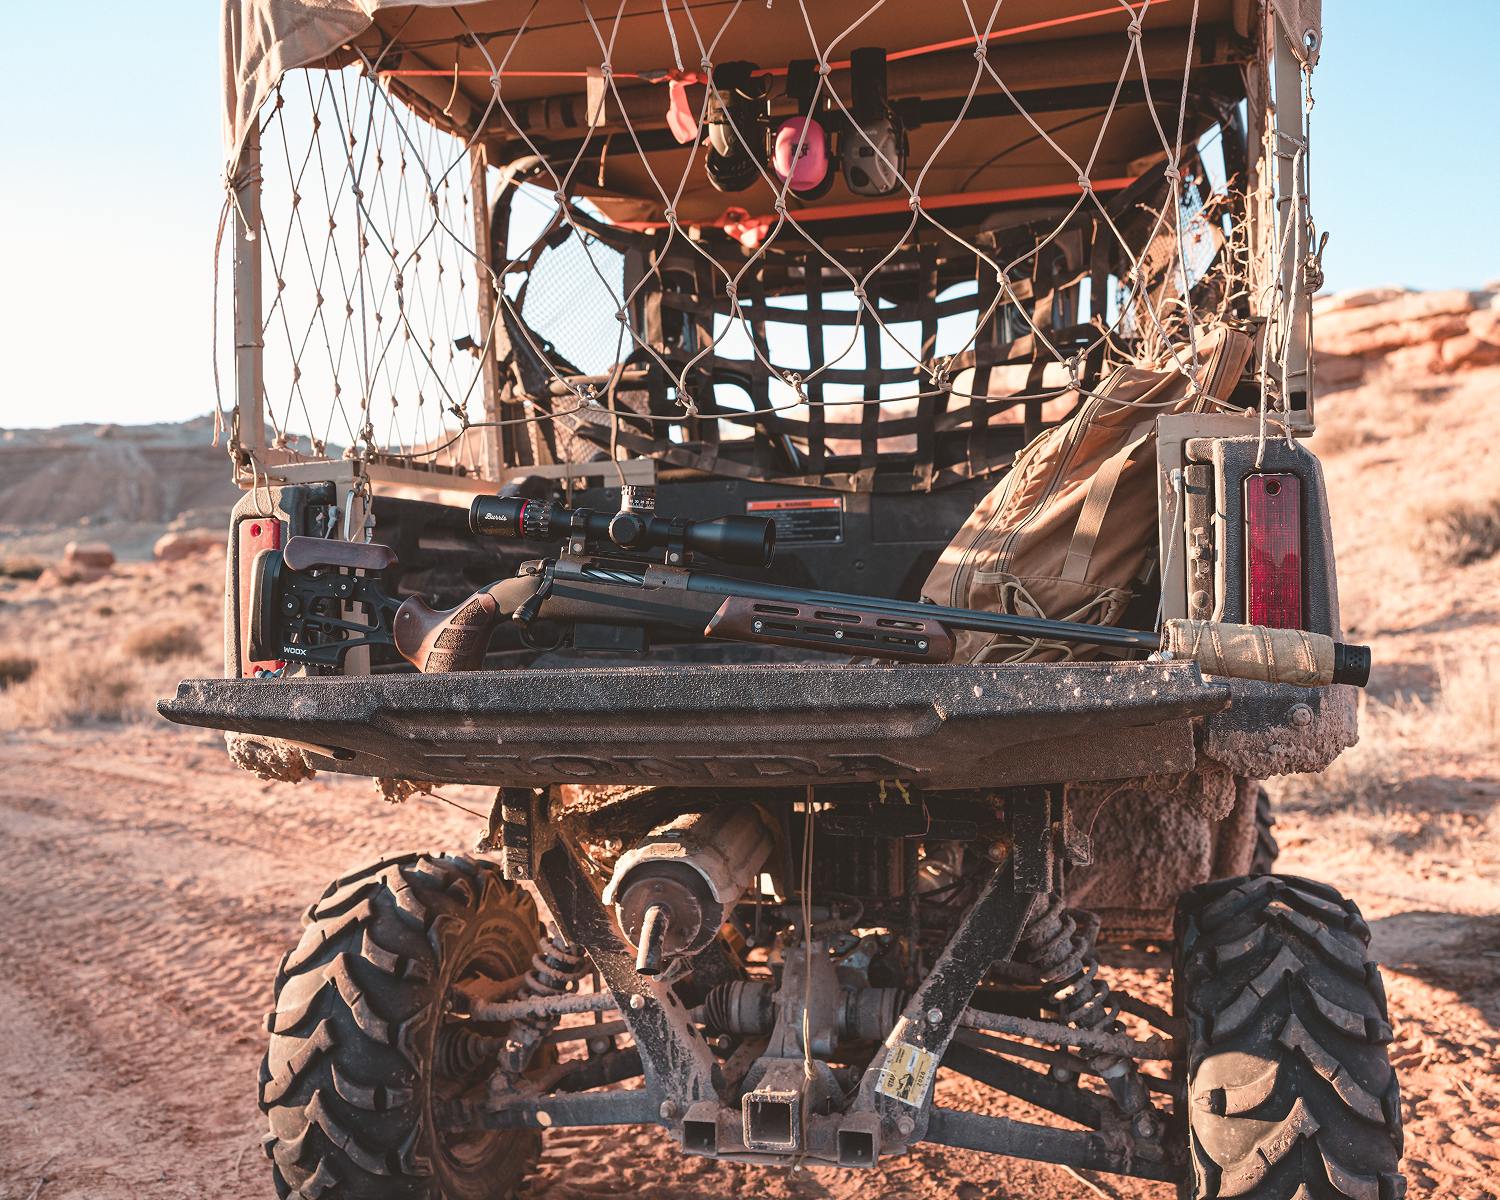
Bergara for Furiosa Walnut: Precision in the Backcountry
Furiosa Walnut blends the Bergara Crest 6.5 PRC rifle with Burris Veracity PH optics, JK RPX‑30 suppressor, and protective Burnproof wrap for rugged backcountry precision.

Woox Edge MP5K Build Guide — Suppressed Precision & Tactical Performance
Turn a classic HK MP5K into a next-level tactical rig with quality upgrades like Midwest Industries rails, B&T suppressor, Cloud Defensive REIN light, and EOTech EXPS3-0 optic for unmatched performance.


