


Source: www.arbuildjunkie.com
The Evolution of Precision: Understanding the AR-15 Trigger Mechanism
Table of Contents
In the realm of firearms, the AR-15 stands out as a paragon of modularity and precision. Central to its exceptional performance is the trigger mechanism, a pivotal component that dictates the firearm's accuracy, reliability, and user experience. This article delves into the intricacies of the AR-15 trigger, exploring its mechanics, variations, and the impact it has on the shooting experience.
Understanding the Basics
The AR-15 trigger mechanism is a cornerstone in the firearm's design, determining the connective action between the shooter's intention and the rifle's response. It functions by releasing the hammer or striker to initiate the firing process. Precision and responsiveness in this mechanism are crucial for accurate shooting.
Types of AR-15 Triggers

Custom AR15 featuring WOOX Vigilante furniture
- Single-Stage Triggers: These are standard in most AR-15 models. They feature a consistent pull weight from start to finish, offering a straightforward and predictable shooting experience.
- Two-Stage Triggers: These triggers incorporate an initial stage of light pull weight, followed by a second stage of heavier pull. This design allows for greater control and accuracy, particularly in long-range shooting scenarios.
- Adjustable Triggers: Catering to personal preferences, adjustable triggers enable the shooter to customize pull weight and travel distance. This versatility is particularly beneficial for competitive shooters.
Impact on Performance

Custom AR15 featuring WOOX Vigilante furniture
The choice of trigger significantly influences the AR-15's performance. A well-designed trigger enhances accuracy by providing a clean, crisp break. This precision is crucial in scenarios where accuracy is paramount, such as competitive shooting or hunting.
Safety Considerations
While exploring trigger options, it's essential to maintain a balance between performance and safety. A trigger that's too light or sensitive can inadvertently increase the risk of accidental discharge. Safety should always be the primary consideration in selecting and using any firearm component.
Customization and Upgrades

Source: www.magpul.com
The AR-15's modular design allows for a wide range of customizations, and the trigger mechanism is no exception. Upgrading to a high-quality aftermarket trigger can significantly enhance the rifle's performance. However, it's vital to choose reputable brands and ensure proper installation for optimal safety and function.
Conclusion
The trigger mechanism is more than just a component; it's the heart of the AR-15's shooting experience. Whether for casual shooting, competitive events, or tactical applications, understanding and choosing the right trigger can profoundly impact the effectiveness, safety, and enjoyment of using this iconic firearm. As always, responsible handling and continuous learning remain the pillars of firearm use.
Step-by-Step Procedure for Installing a New AR-15 Trigger

Custom AR15 featuring WOOX Vigilante furniture
Installing a new trigger in your AR-15 can enhance your shooting experience by improving accuracy and feel. This guide provides a detailed, step-by-step procedure for installing a new AR-15 trigger. Remember, safety is paramount, so ensure you are familiar with your firearm and its components before attempting any modifications.
Tools and Materials Needed
- New AR-15 trigger kit
- Punch set
- Hammer
- Screwdriver set
- Needle-nose pliers
- Safety glasses
- Work gloves (optional)
Safety Precautions
- Ensure the firearm is unloaded.
- Remove the magazine and check the chamber to confirm it's empty.
- Work in a well-lit, clean, and uncluttered area.
- Wear safety glasses to protect your eyes.
Procedure
1. Disassemble the Lower Receiver:
- Remove the pins holding the lower receiver to the upper receiver.
- Take out the buffer and spring.
2. Remove the Existing Trigger:
- Locate the hammer and trigger pins in the lower receiver.
- Using a punch and hammer, gently tap out these pins.
- Carefully remove the hammer, trigger, and disconnector.
3. Install the New Trigger:
- Place the new trigger in the lower receiver where the old one was situated.
- Align the trigger pin holes and insert the new trigger pin. Secure it in place.
- Ensure that the trigger springs are properly positioned and not obstructed.
4. Install the Hammer:
- Position the hammer in the lower receiver, aligning it with the trigger.
- Insert the hammer pin through the receiver and hammer. Ensure the pin is secured and the hammer moves freely.
5. Check the Disconnector:
- The disconnector should be properly seated on the trigger and move smoothly.
- Ensure the disconnector spring is correctly installed.
6. Function Test:
- Perform a function test by cocking the hammer and pulling the trigger. The hammer should fall.
- Hold the trigger down, cock the hammer again, and then release the trigger. You should hear a click as the disconnector releases.
- Repeat this test a few times to ensure reliability and safety.
7. Reassemble the Lower Receiver:
- Reinsert the buffer and spring.
- Reattach the lower receiver to the upper receiver.
8. Final Safety Check:
- Check the overall assembly for any loose parts or misalignments.
- Ensure all pins are securely in place.

SHOP BY purpose
Discover the perfect fit for your needs with our diverse collection of aftermarket stocks, tailored for a range of different purposes.
see all our stocks




Keep Reading
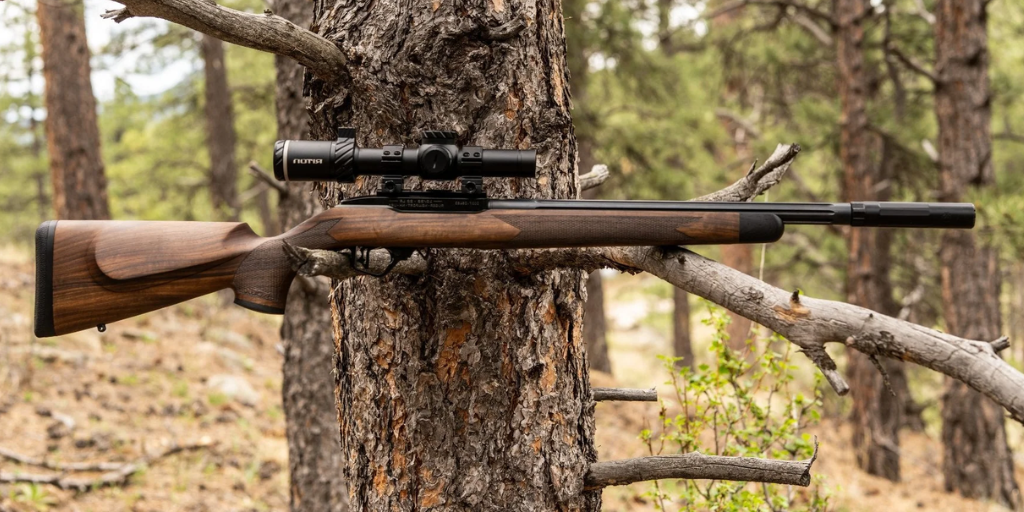
Cold-Bore Point of Impact for Hunting Rifles: Why It Matters for Zero
Understand how cold-bore point of impact affects a hunting rifle zero and how to test first-shot consistency across bore, temperature, and field conditions.


The Hunter’s Field Kit: The Tools That Still Matter Beyond the Rifle
A practical look at the hunting tools that still earn their place in the field—from the rifle and stock to knives, axes, sharpening gear, maintenance, and camp essentials
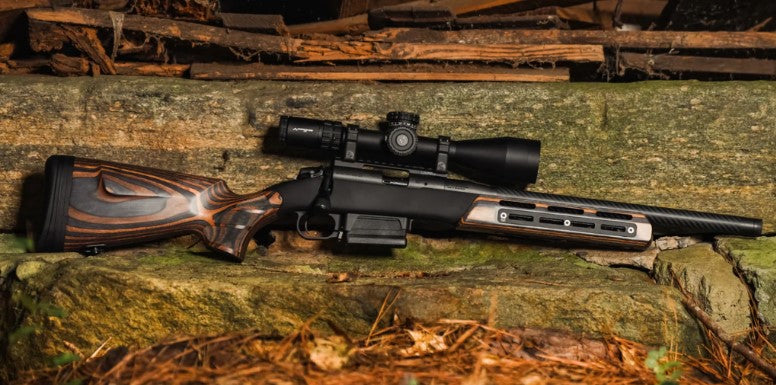
Why Hunters Still Choose Wood Rifle Stocks When Synthetic Is Easier
Synthetic rifle stocks are easier to maintain. So why do hunters still choose walnut? A practical look at wood, field use, weight, craftsmanship, repairability, and long-term ownership.
Customize Your Rifle Stock
Build it around the way you shoot: configure your rear stock, choose the recoil pad that gives you the right fit and comfort, add custom engraving for a personal touch, and select the forend that best matches your rifle setup and shooting style.
BUILD YOUR STOCK