


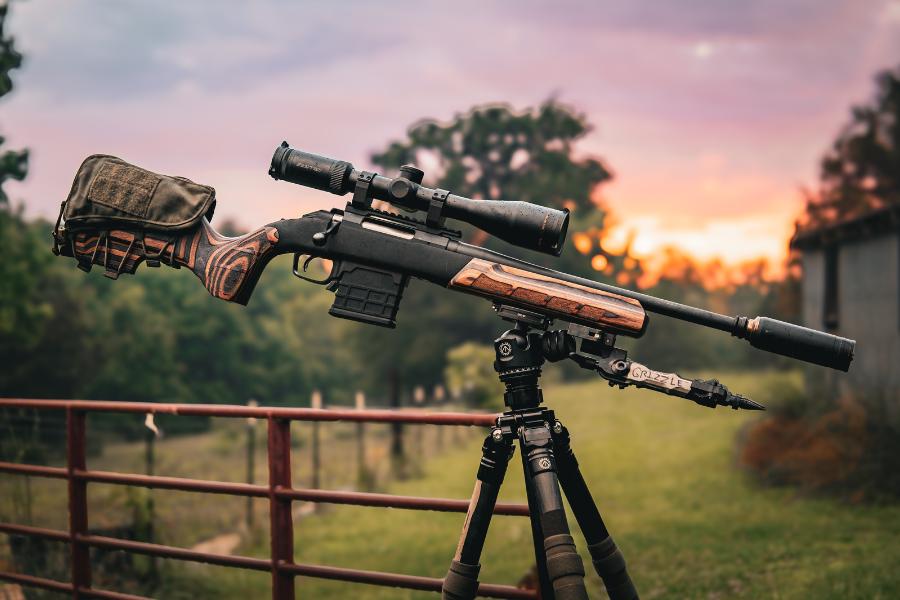
Painting Your Rifle: A Comprehensive Guide
PPainting a rifle has become a popular practice among firearm enthusiasts and hunters alike. While it may seem like a simple decision, there are several pros and cons to consider before you decide to give your firearm a new look. In this article, we will explore the advantages and disadvantages of painting your rifle to help you make an informed choice.

Pros of Painting Your Rifle
Camouflage and Concealment:
One of the primary reasons people choose to paint their rifles is to enhance camouflage and concealment. A painted rifle can blend seamlessly into the natural surroundings, making it less visible to prey or adversaries. This is especially advantageous for hunters and military personnel.
Rust and Corrosion Protection:
Firearms are susceptible to rust and corrosion, which can severely affect their performance and longevity. Applying a protective paint coating can act as a barrier against moisture and other corrosive elements, extending the life of your rifle.
Personalization:
Painting your rifle allows you to express your personal style and preferences. You can choose colors, patterns, and designs that reflect your individuality, making your firearm unique and easily distinguishable.
Improved Durability:
High-quality firearm paints and coatings are designed to withstand harsh conditions, including extreme temperatures, rain, and sunlight. This added durability can help maintain the integrity and functionality of your rifle over time.
Reduced Glare:
A painted rifle can help reduce glare and shine, making it less likely to give away your position in bright sunlight. This is particularly advantageous for snipers and hunters who need to stay hidden from their targets.

Cons of Painting Your Rifle
Decreased Resale Value:
Customizing your rifle with paint can significantly reduce its resale value. Many collectors and firearm enthusiasts prefer original, unaltered firearms, and painting can make your rifle less appealing to potential buyers.
Legal and Regulatory Considerations:
Before painting your rifle, it's essential to be aware of local and national laws and regulations regarding firearm modifications. Some regions may have restrictions on certain types of modifications, including painting.
Incorrect Paint Application:
If not done correctly, the painting process can damage your rifle. Using the wrong type of paint or applying it improperly may result in poor adhesion, peeling, or even corrosion.
Maintenance:
Painted rifles require regular maintenance to ensure the coating remains in good condition. Scratches, chipping, or wear and tear can necessitate repainting, which can be time-consuming and may not always yield the same results.
Limited Reversibility:
Once you paint your rifle, it can be challenging to return it to its original state. Removing the paint entirely can be labor-intensive and may not fully restore the firearm's original appearance.

common rifle paint options
When considering painting your rifle, it's crucial to choose the right type of paint to ensure both a durable finish and the desired aesthetic. There are several paint options available, each with its own characteristics and suitability for different purposes. Here are some common rifle paint options:
Cerakote:
Pros: Cerakote is a popular firearm coating known for its durability and resistance to wear, corrosion, and chemicals. It's available in a wide range of colors and can be applied in various finishes, including matte and gloss.
Cons: Cerakote application requires specific equipment and expertise, making it a more costly option. It's also not easily reversible.
Duracoat:
Pros: Duracoat is a firearm-specific finish known for its durability and resistance to abrasion, chemicals, and corrosion. It's available in numerous colors and patterns, including camo designs.
Cons: Like Cerakote, Duracoat requires proper preparation and application techniques. It may be difficult to remove or reverse once applied.
Rattle Can Spray Paint:
Pros: This is a cost-effective and readily available option. Rattle can spray paints come in various colors and finishes. They can be easily applied by firearm owners without professional equipment.
Cons: While affordable and accessible, rattle can spray paint may not provide the same level of durability as specialized firearm coatings. It may require more frequent touch-ups.
GunSkins or Vinyl Wraps:
Pros: GunSkins and vinyl wraps are adhesive-backed, heat-shrinkable materials that can be applied to your rifle. They offer a wide variety of designs and patterns, are relatively easy to apply, and can be removed without damaging the underlying finish.
Cons: While GunSkins and wraps provide customization options, they may not be as durable as other coating methods and can be susceptible to wear, especially in high-friction areas.
Camo Dipping:
Pros: Camo dipping, also known as hydro-dipping, provides a unique, hydrographic finish. It allows for intricate patterns and designs. The finish is durable and can be customized to your preference.
Cons: Hydro-dipping typically requires professional equipment and expertise. It can be more expensive than other options and may not be easily reversible.
DIY DuraCoat Solutions:
Pros: Some manufacturers offer DIY Duracoat kits that include everything needed for application. These kits can be cost-effective and provide a durable finish.
Cons: Achieving a professional finish may be challenging for beginners. Proper surface preparation and application techniques are crucial.
Before choosing a rifle paint option, consider your specific needs, budget, and level of expertise. If you're uncertain, consulting with a professional gunsmith or painter can help you make the best choice for your firearm. Additionally, always follow safety precautions when working with firearms and paint materials to ensure a safe and successful application.
Painting your rifle offers several advantages, such as improved camouflage, rust protection, personalization, and enhanced durability. However, it's essential to weigh these benefits against the potential downsides, including decreased resale value, legal considerations, and the need for proper maintenance. Before deciding to paint your rifle, carefully consider your intentions, local regulations, and the long-term implications of this modification. If done correctly and for the right reasons, painting your rifle can be a rewarding and practical choice for firearm enthusiasts and hunters alike.

Procedure for Applying a Camo Finish to Your Rifle
Materials Needed:
Camo paint in matte khaki and earth brown
Painter's tape
Knife or scissors
Pattern material (leaves, mesh, etc.)
Rifle with attachments removed (optics, lights, grips, etc.)
Step 1: Preparing the Rifle
Begin by safely unloading and clearing your firearm to ensure it's not loaded. Remove any attachments and accessories from the rifle that you do not wish to paint, such as optics, lights, and grips.
Step 2: Taping Critical Areas
Use painter's tape to carefully cover critical areas that should not be painted, including the trigger, magwell, and muzzle device. Ensure that the tape provides complete coverage to prevent paint from entering these parts.
Step 3: Applying Base Layer
Shake the camo paint cans thoroughly to mix the colors. Apply a base layer of camo paint to the rifle's surface. Use diagonal slashes to create a random pattern, alternating between matte
khaki and earth brown colors. Cover the entire rifle, including both sides, top, bottom, and the stock.
Step 4: Drying
Allow the painted rifle to dry for approximately 10 minutes or until it is no longer tacky to the
touch. Keep the rifle in a clean and dust-free environment during this time to avoid contamination of the paint.
Step 5: Applying Camo Pattern
Use pattern material (such as leaves or mesh) to create a unique camo pattern on the rifle. Apply the opposite color to the base layer on areas that were left unpainted during the first step. This step adds depth and complexity to the camo pattern.
Step 6: Final Drying
Allow the painted rifle to dry completely. The finish may appear slightly gritty initially, but this will improve over time. Be prepared for some paint residue to come off during the initial period of use.
Step 7: Removing Tape and Excess Paint
Carefully remove the painter's tape from the critical areas of the rifle. Inspect the paint job for any excess or unwanted paint, and remove it as needed using a knife or
scissors.
Step 8: Understanding Paint Wear
Understand that the painted finish on your rifle will naturally wear over
time, which can enhance its appearance. Embrace the evolving character of your camo pattern as it reflects the rifle's use and environment.
Step 9: Safety and Training
Prioritize firearm safety and follow all local laws and regulations regarding firearm modifications. Consider seeking professional training and support for your firearms-related endeavors. Support firearm-related businesses that provide essential services and products.
By following this comprehensive procedure, you can successfully paint your rifle with a camo finish to suit your preferences and needs. Remember to prioritize safety and compliance with all applicable laws and regulations throughout the process.
Keep Reading
Ruger American Ranch Stock Compatibility Guide: What To Verify Before You Buy
Not every Ruger American Ranch uses the same stock inlet. Learn how magazine systems, Gen I vs Gen II differences, barrel contour, and fitment affect Ruger American Ranch stock compatibility.
How to Read a Firearm Stock Fitment Table Before Buying a Rifle Stock
Learn how to read firearm stock fitment tables before buying a rifle stock. Understand action length, magazine systems, bottom metal, barrel contour, and compatibility requirements.
Stock Inlet Terms Explained: Action Footprint, Barrel Channel, Bottom Metal, and Magazine Cut
What action footprint, barrel channel, bottom metal, and magazine cut mean in rifle stock fitment so you can choose the right stock with confidence.
Sling Mounting Options for Hunting Rifles: Studs, QD Cups, M-LOK, and Carry in the Field
Compare sling studs, QD cups, and M-LOK sling mounts for hunting rifles. See how mounting position affects carry comfort, rifle balance, and field handling.
SHOP BY name
Experience the ultimate in precision and performance with our collection of aftermarket stocks, designed to elevate your shooting experience to the next level.
see all our stocks


