MOSSBERG 88/500/590:
how to install our aftermarket stock, grip and forend

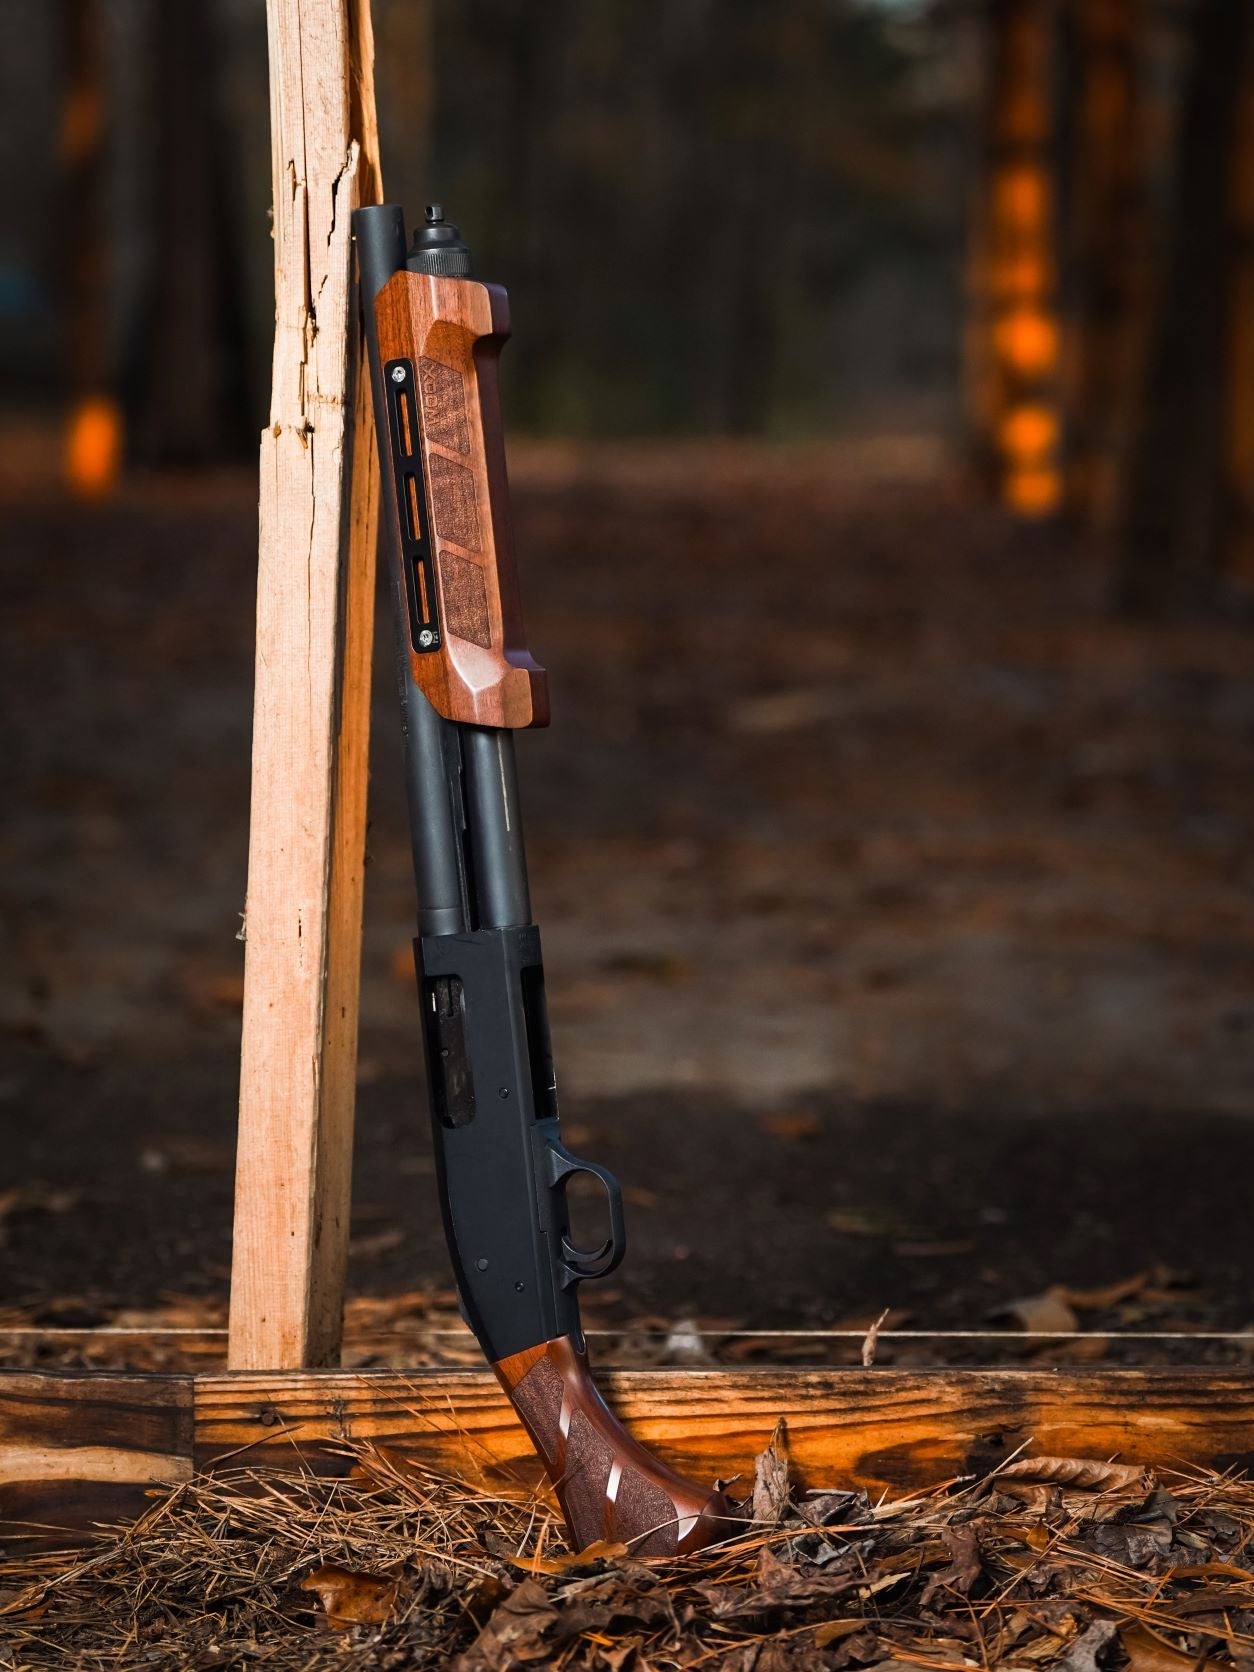
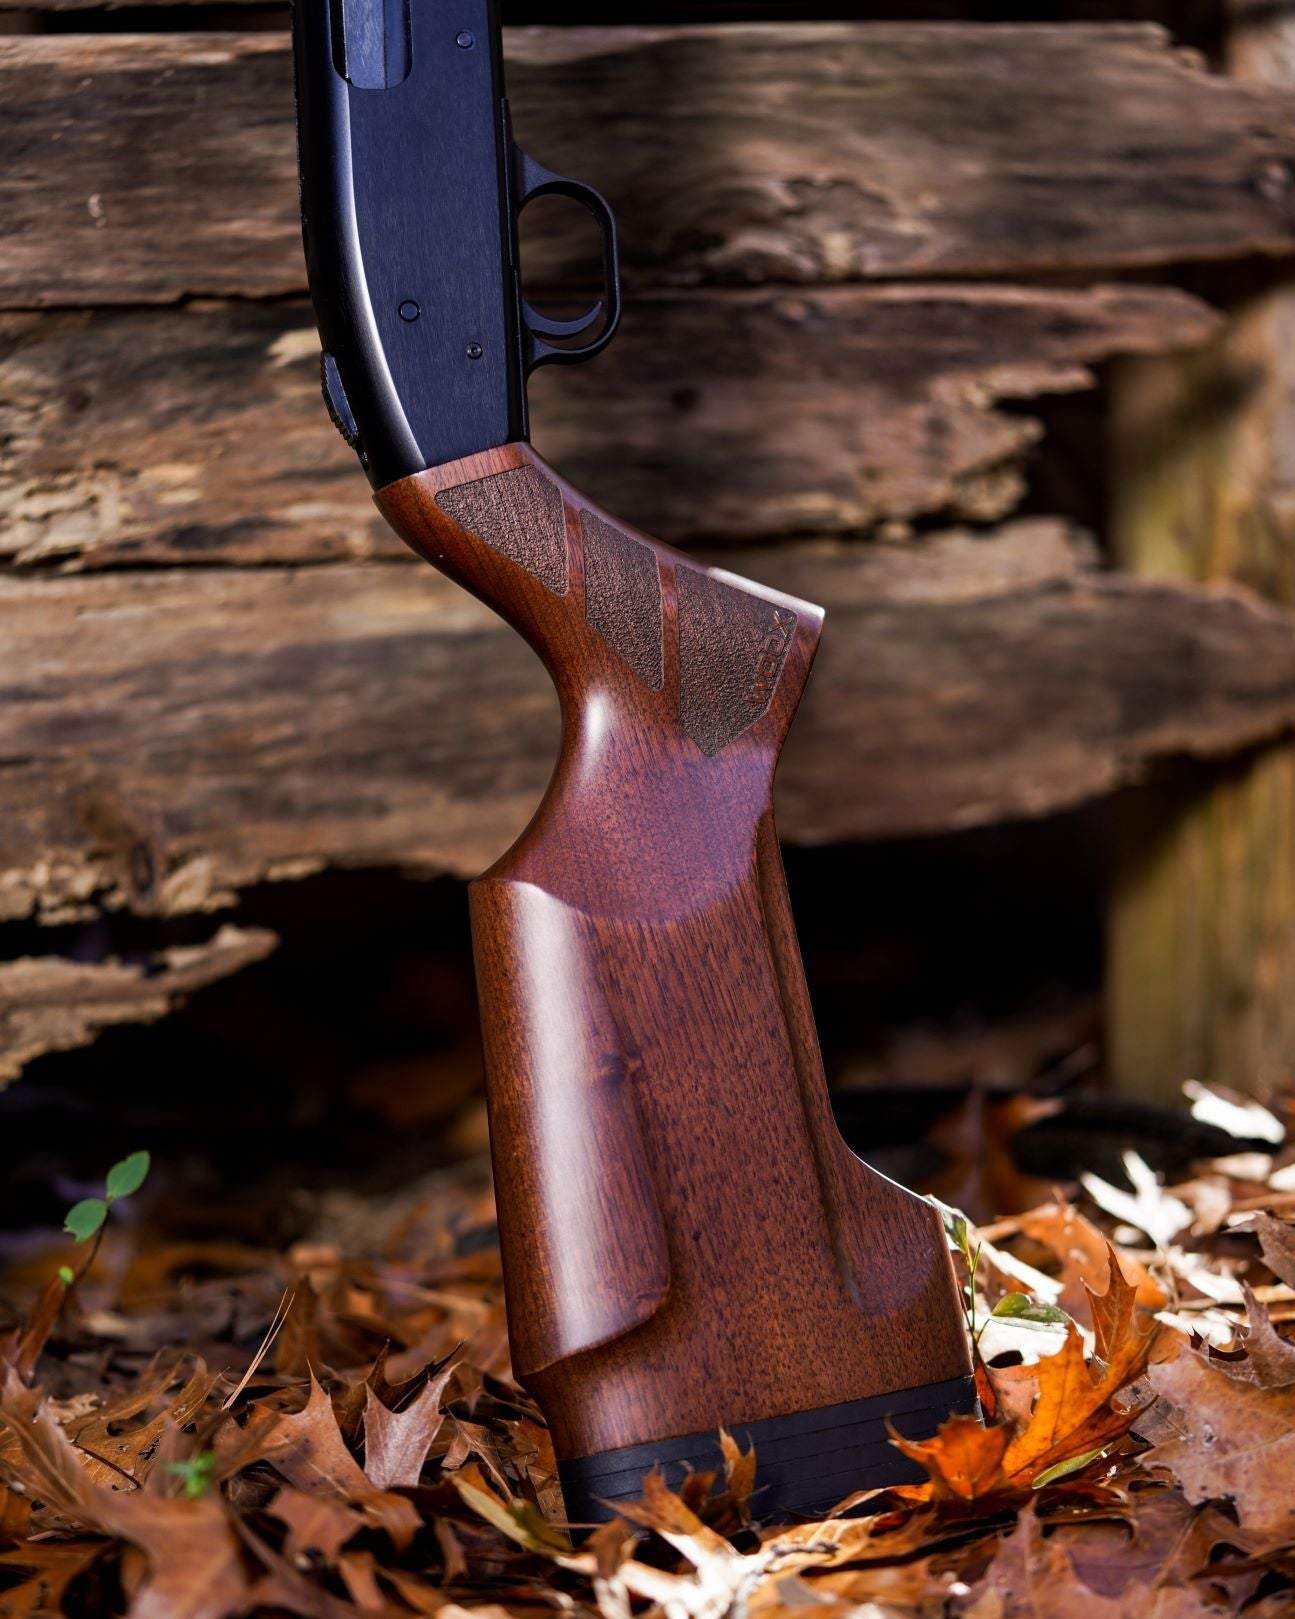
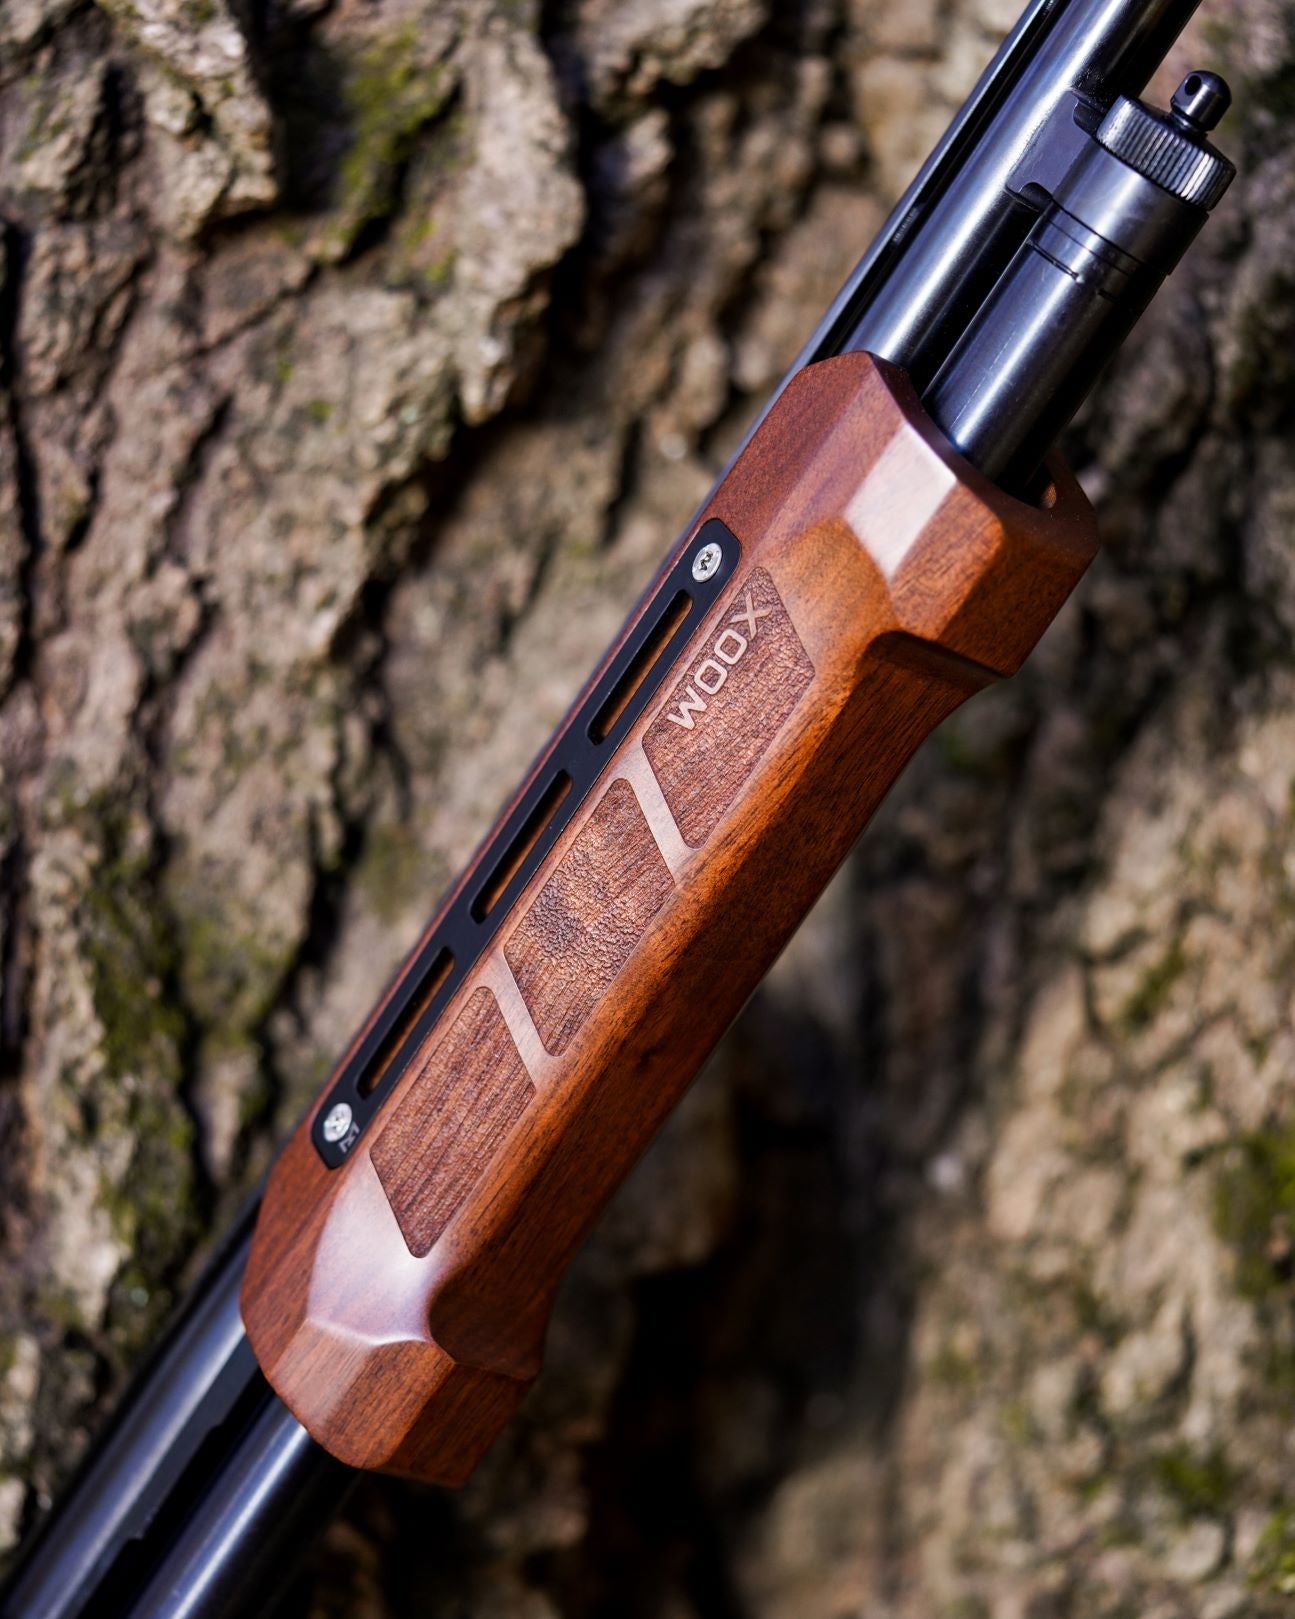
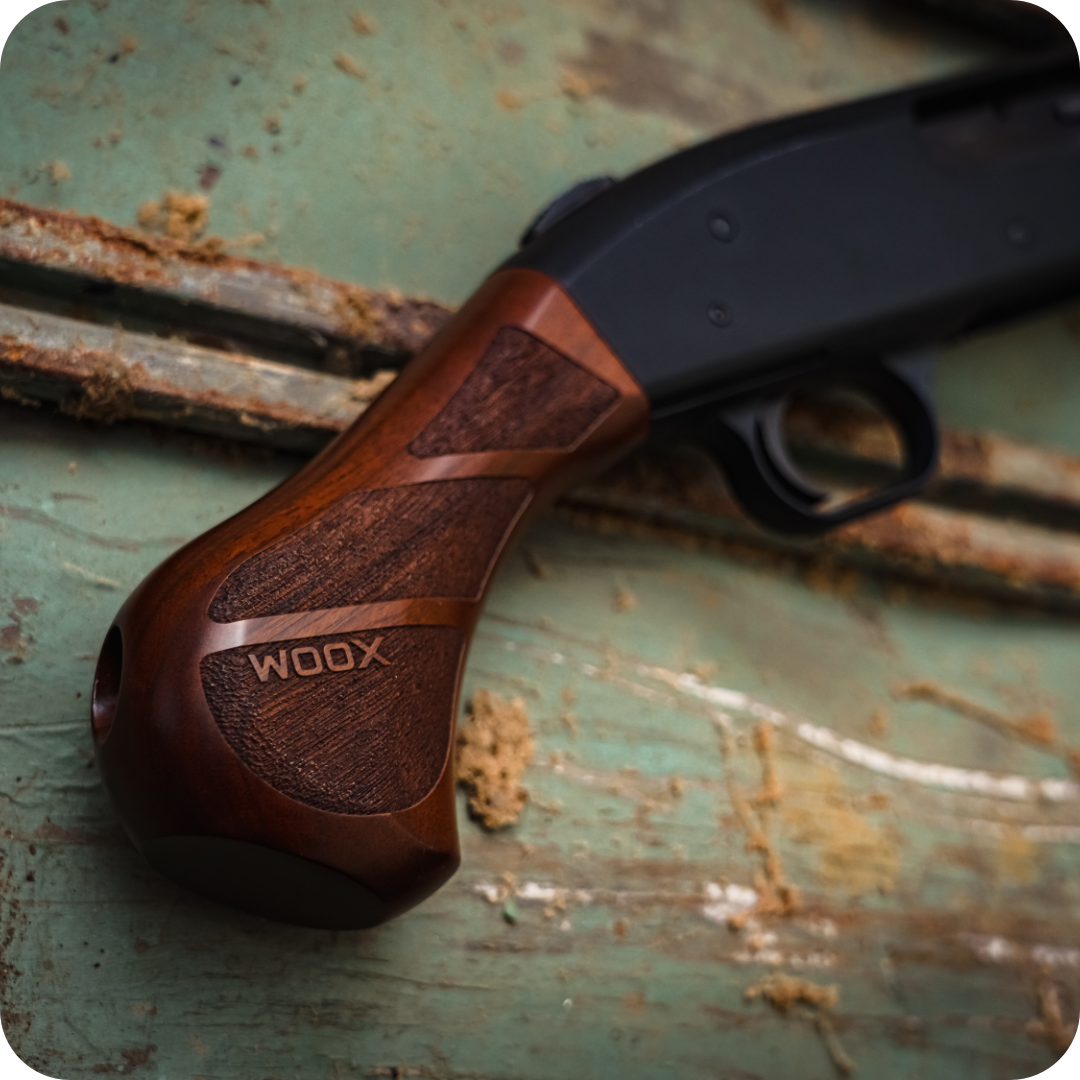
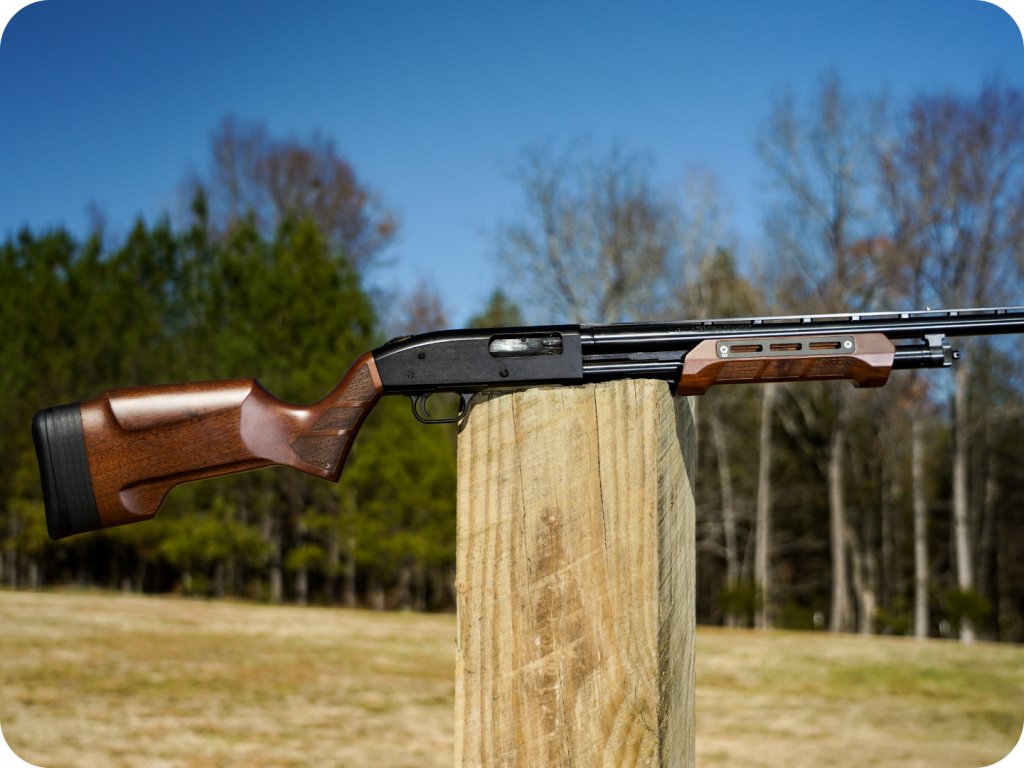
Are you looking to upgrade the stocks, grip, and forend on your Mossberg 500 shotgun? Look no further than the Gladiatore aftermarket components from our company! In this article, we will provide you with three video tutorials that will guide you step-by-step through the process of upgrading your Mossberg 500 with our high-quality Gladiatore furniture.
These components are easy to install, and will not only enhance the performance and functionality of your shotgun, but also provide it with a sleek and modern look. So, let's get started with our video tutorials and transform your Mossberg 500 today!
tools required for this installation
The tools required for this installation are two Phillips screwdriver, a quarter inch bit, a five millimeter bit, and a half inch socket with a ratchet and a long extension and, of course, our Gladitore aftermarket stock (Compatible with your Mossberg 88/ 500 / 590 / 590A1 pump shotguns)

Changing Mossberg 500 Stock
Transcript
Before starting this project, it is important to ensure that you are complying with all local laws and regulations regarding the installation of firearm parts.
The tools required for this installation are a number two Phillips screwdriver, a quarter inch bit, a five millimeter bit, and a half inch socket with a ratchet and a long extension.
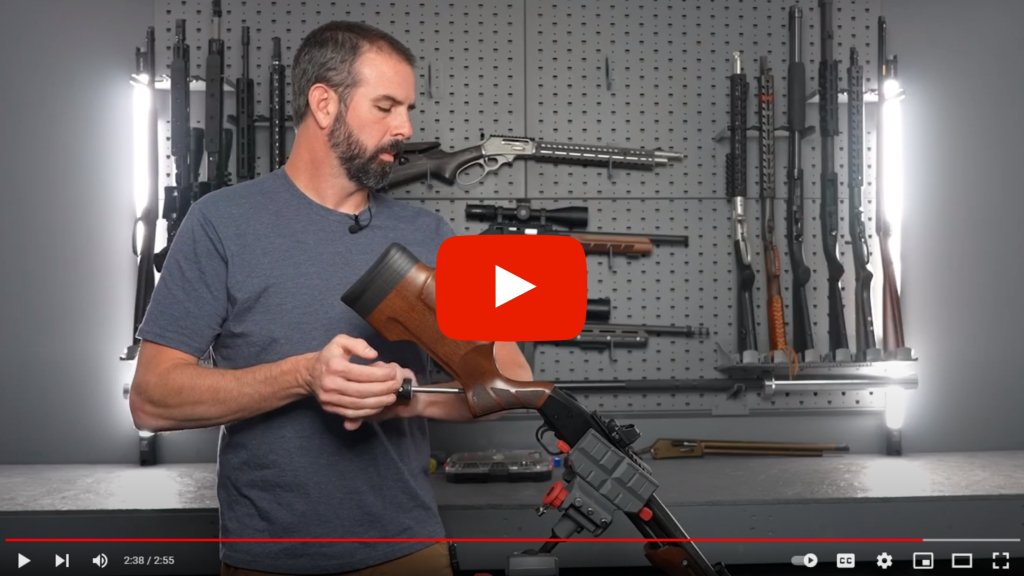
Once you have these tools check that your firearm is clear by ensuring that there is nothing in the chamber and that the mag tube is empty.Although I will be using a vise for demonstration purposes, it is not necessary to use one. To begin, access the bolt holding the stock to the receiver through the butt pad using the Phillips screwdriver to unscrew the long screws.
Once they are loose, the stock will come off easily.
Next, use the half inch socket and extension to remove the bolt that is slotted for a straight blade. It is much easier to keep the socket on target rather than the straight blade. Once the bolt is removed, you can see that the factory stock and Gladiatore mount differently.
The factory stock is a hollow core with a long bolt going through the back and a bolt hole in the bottom. In contrast, the Gladiatore is not hollow, so the direction of the bolt needs to be changed.
To do this, install the adapter plate on the back of the receiver, which will allow you to turn the bolt direction. Use the short screw and quarter inch bit to tighten the adapter plate securely.
Then, using the five millimeter bit, slide the Gladiatore onto the back of the shotgun and insert the supplied bolt into the bottom of the pistol grip. Tighten the bolt until you have a secure fit.
That's it! The Gladiatore stock is now installed and ready to use.
Thank you for watching, and I hope you enjoy your new stock.
Changing Mossberg 500 fore end
Transcript
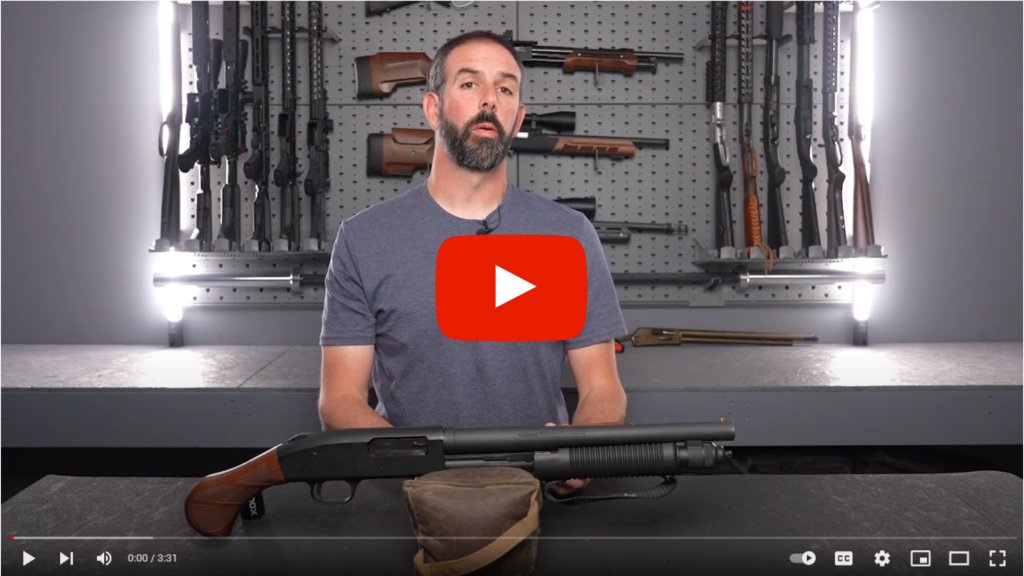
Hello everyone, in this video, we will be demonstrating how to install the Woox Gladiatore forend on your Mossberg 500 shotgun. Please note that this particular forend will only fit six and three-quarter-inch slide action tubes which are located under the forend, not the seven and three-quarter-inch tubes.
Some older Mossberg 500s and the Mossberg 590 A1 SPX have a seven and three-quarter-inch slide action tube. The Shockwave and the 500s on the wall are the new ones and both have six and three-quarter-inch action tubes.
Always ensure that you are complying with all local laws and regulations regarding the installation of firearm parts before beginning this project.
First and foremost, make sure that the firearm is clear and that there is nothing in the chamber or mag tube. The only tool required for this installation is an action tube nut wrench, which is used to remove the nut that holds the forend in place.
To get started, unscrew the nut at the end of the magazine tube, which may be tight from the factory. If it is difficult to remove, wrap a heavy-duty rag over it and use a pair of channel locks to get a good grip and twist it free. Once the nut is removed, drop the forend about halfway to relieve the tension on the barrel and remove it.
Next, pull the mag tube back to the end and use the action tube nut wrench to turn the nut counterclockwise. The nut will not go all the way through at first because the mag tube is in the way, but you can use the wrench to help get it started and then spin it by hand. Once the nut is removed, take off the old forend and slide the Gladiatore forend into place.
To reinstall the action tube nut, drop it down in place and use the action tube nut wrench.
Always back-thread by spinning it counterclockwise until you feel the thread drop into place before turning it clockwise. This will prevent cross-threading, especially with fine threads. Tighten the nut securely by hand and then use the bar to finish tightening it.
Once the forend and action tube nut are installed, you can reinstall the barrel by dropping the forend to relieve the pressure and giving it a good tap. Then, reinstall the nut and you're good to go.
This is a quick and easy installation that greatly improves the look of your firearm. Thank you for watching!
Changing Mossberg 500 club grip
Transcript
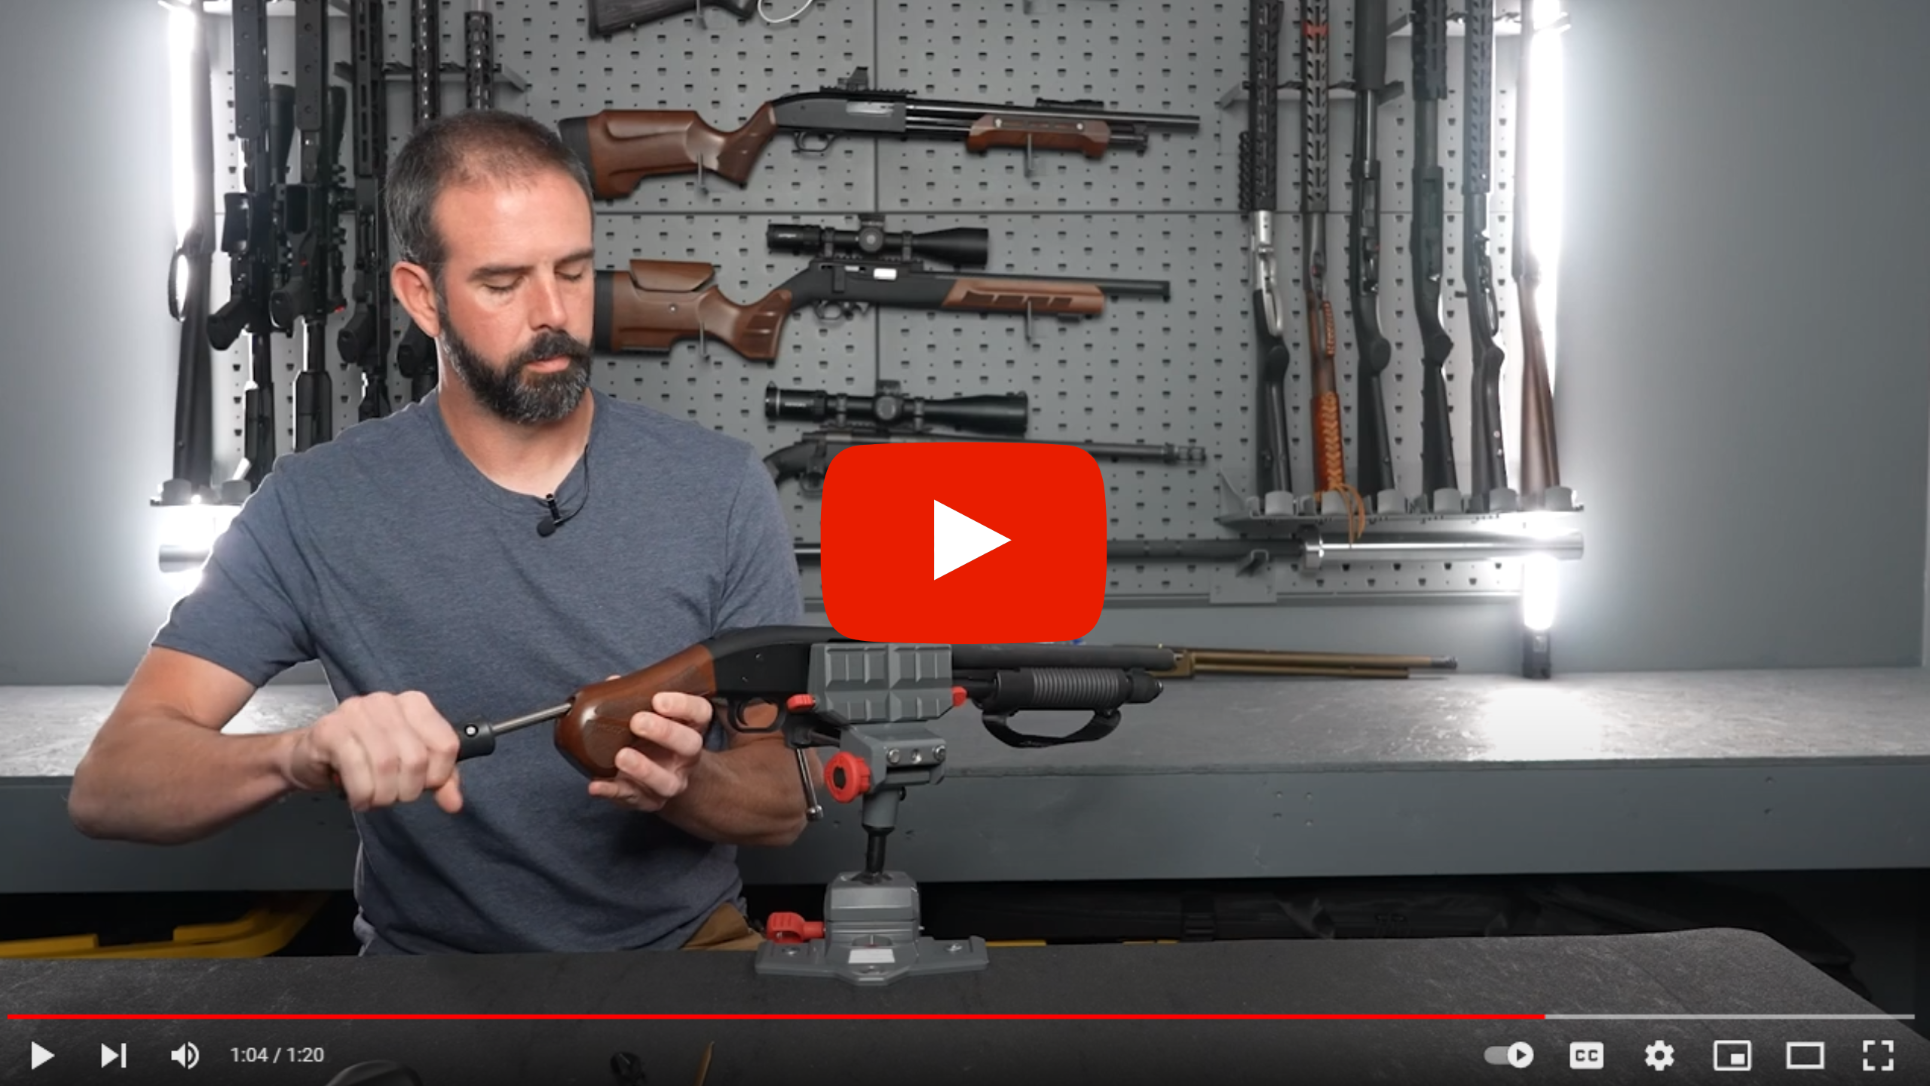
Hello everyone, in this video, I will be demonstrating how to install the Woox Gladiator grip on your Mossberg Shockwave shotgun. Before beginning this installation, it is important to check all local laws and regulations to ensure that you are not doing anything illegal. Additionally, make sure that the shotgun is empty by checking the chamber and mag tube.
To make it easier to demonstrate, I will be using a vise, but it is not necessary. The only tools required for this installation are a quarter inch drive bit and a prying tool to remove the plug on the factory Shockwave grip.
To start, use the prying tool to remove the plug from the factory grip. This should be easy to do. Next, use the quarter inch bit to remove the screw from the back of the grip.
Once the screw is removed, take the new grip bolt and insert it into the hole in the back of the grip. Use the quarter inch bit to tighten the bolt and align everything on the back of the shotgun.
That's it! The installation is complete and should greatly improve the look and feel of your Mossberg Shockwave shotgun.
This is a quick and easy installation that only requires two simple tools. Thank you for watching!
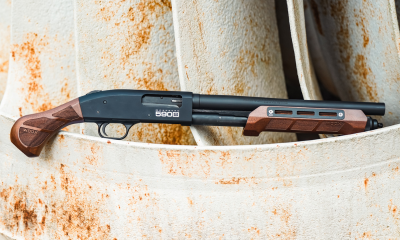
WOOX premium upgrades for MOSSBERG 500® and shockwave
Keep Reading

PTR 9CT: Stock, Grip & Rail Upgrades - WOOX 1913 WOODY
WOOX’s handcrafted American walnut stock, M‑LOK vertical grip and rail panels turn any rifle into a blend of classic craftsmanship and modern modular performance — perfect for hunters and shooters who value both heritage and function.

Bergara for Furiosa Walnut: Precision in the Backcountry
Furiosa Walnut blends the Bergara Crest 6.5 PRC rifle with Burris Veracity PH optics, JK RPX‑30 suppressor, and protective Burnproof wrap for rugged backcountry precision.

Woox Edge MP5K Build Guide — Suppressed Precision & Tactical Performance
Turn a classic HK MP5K into a next-level tactical rig with quality upgrades like Midwest Industries rails, B&T suppressor, Cloud Defensive REIN light, and EOTech EXPS3-0 optic for unmatched performance.
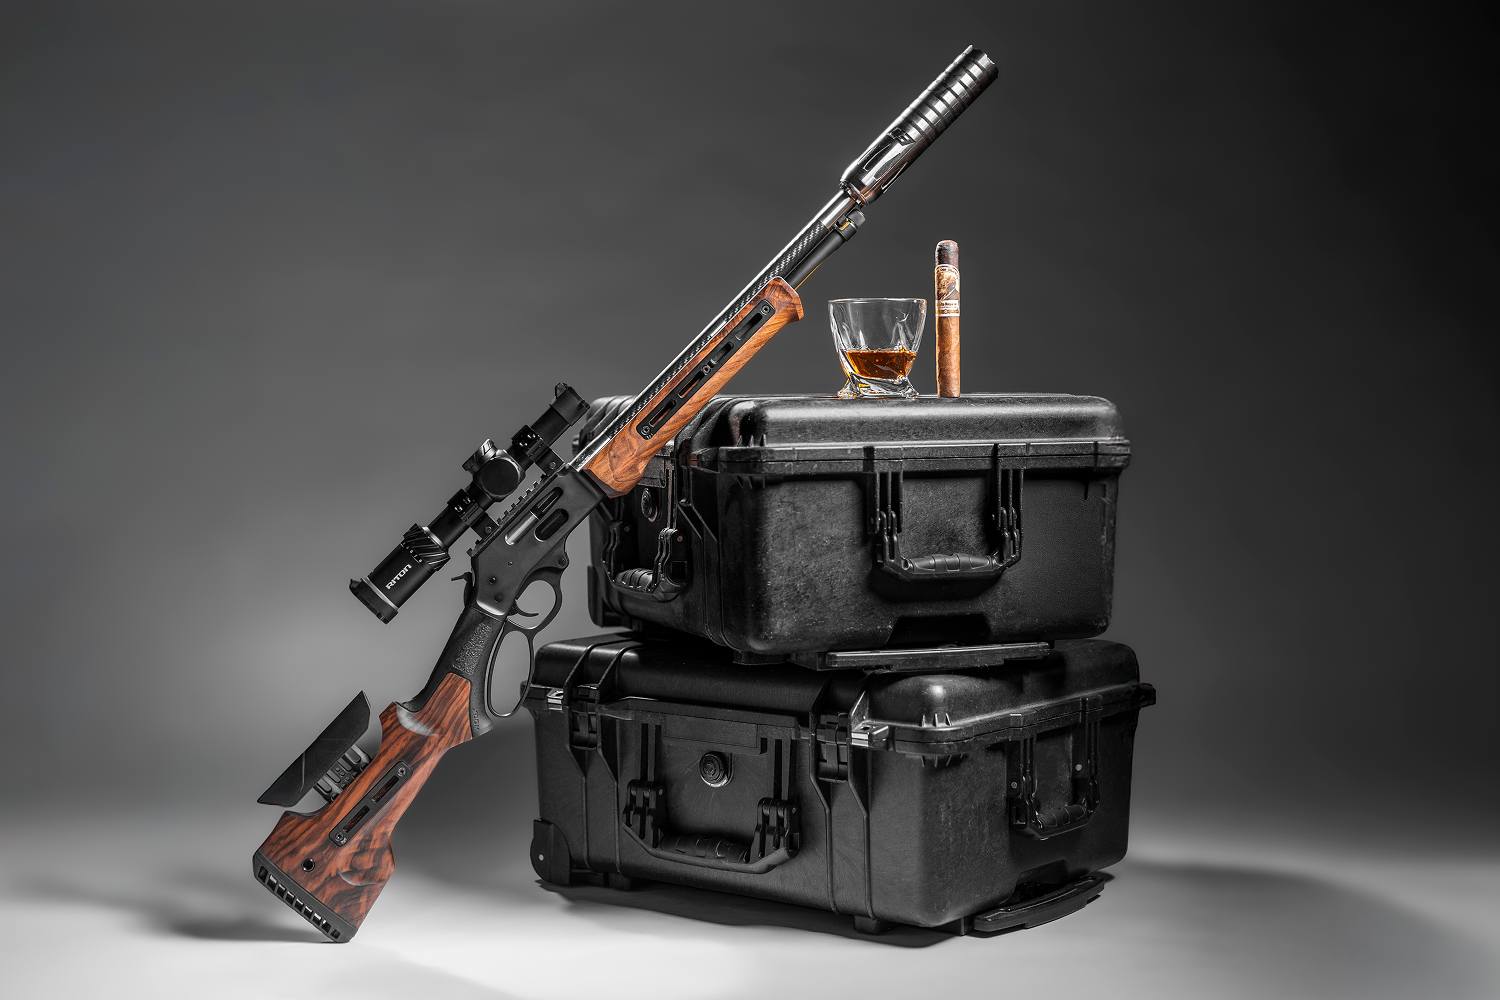
Henry HUSH & Bravado High Grade Series: A Suppressed Lever‑Action Rig Built for the Hunt
The Bravado High Grade Series blends classic lever action with modern optics and suppression, creating a versatile, quiet hunting rifle ready for any terrain.


