


Mastering the Picatinny rails: Tips and Tricks form Beginner to Expert
The Picatinny rail, often referred to as a "MIL-STD-1913 rail" or simply "1913 rail," is a bracket used on firearms for mounting accessories, such as scopes, grips, bipods, and lights. It's a versatile system that's been in use for decades and has become a standard accessory mounting platform.

| Specification | Measurement/Description |
|---|---|
| Rail Width | Approximately 0.835 inches (21.2 mm) |
| Slot Depth | Approximately 0.118 inches (3.0 mm) |
| Slot Width | Approximately 0.206 inches (5.23 mm) |
| Center-to-Center Slot Spacing | Approximately 0.394 inches (10.0 mm) |
| Profile | Distinctive angular shape with a flat top and slanted sides |
| Material | Typically made of hardened aluminum, steel, or composite materials |
| Attachment Method | Uses screws, bolts, or clamps specific to the firearm design |
| Typical Uses | Mounting of optics, lights, lasers, forward grips, bipods, and other accessories |
| Distinguishing Feature | Evenly spaced slots, differentiating it from similar systems like the Weaver rail |

If you're looking to get the most out of your Picatinny rail system, here are some tips and tricks that range from basics for beginners to expert-level techniques:
Basics
- Know Your Rail: The Picatinny rail has specific dimensions with evenly spaced slots. Not all rails that look like a Picatinny rail meet the 1913 specifications, so it's crucial to ensure you're working with an actual Picatinny rail to guarantee accessory compatibility.
- Clean Mounting Surface: Before mounting any accessory, make sure both the rail and accessory's mounting surfaces are clean and free of debris. This will ensure a secure fit and maintain the zero for optics.
- Hand Tighten First: Always hand tighten accessories first before using any tools. This will prevent cross-threading or damaging the rail or accessory.
Intermediate
- Use Proper Mounts: Always ensure you're using mounts specifically designed for Picatinny rails. While many mounts might fit, those explicitly designed for the rail will offer the best fit and stability.
- Loctite for Security: If you're mounting accessories that you don't plan on removing often, consider using a threadlocker like Loctite. This will prevent the screws from backing out during recoil or rugged use.
- Re-Zeroing: Every time you remove and remount an optic, check and potentially re-zero it. Even if it's mounted in the same position, there's a chance that the zero might have shifted slightly.

Expert
- Offset Mounts: If you're running multiple optics or other accessories, consider using offset mounts. These allow you to angle accessories at a 45-degree offset, making it easy to switch between optics or other devices.
- Backup Sights: If you're running an electronic optic, always consider having backup iron sights (BUIS) on your rail. These can be quickly deployed if your primary optic fails.
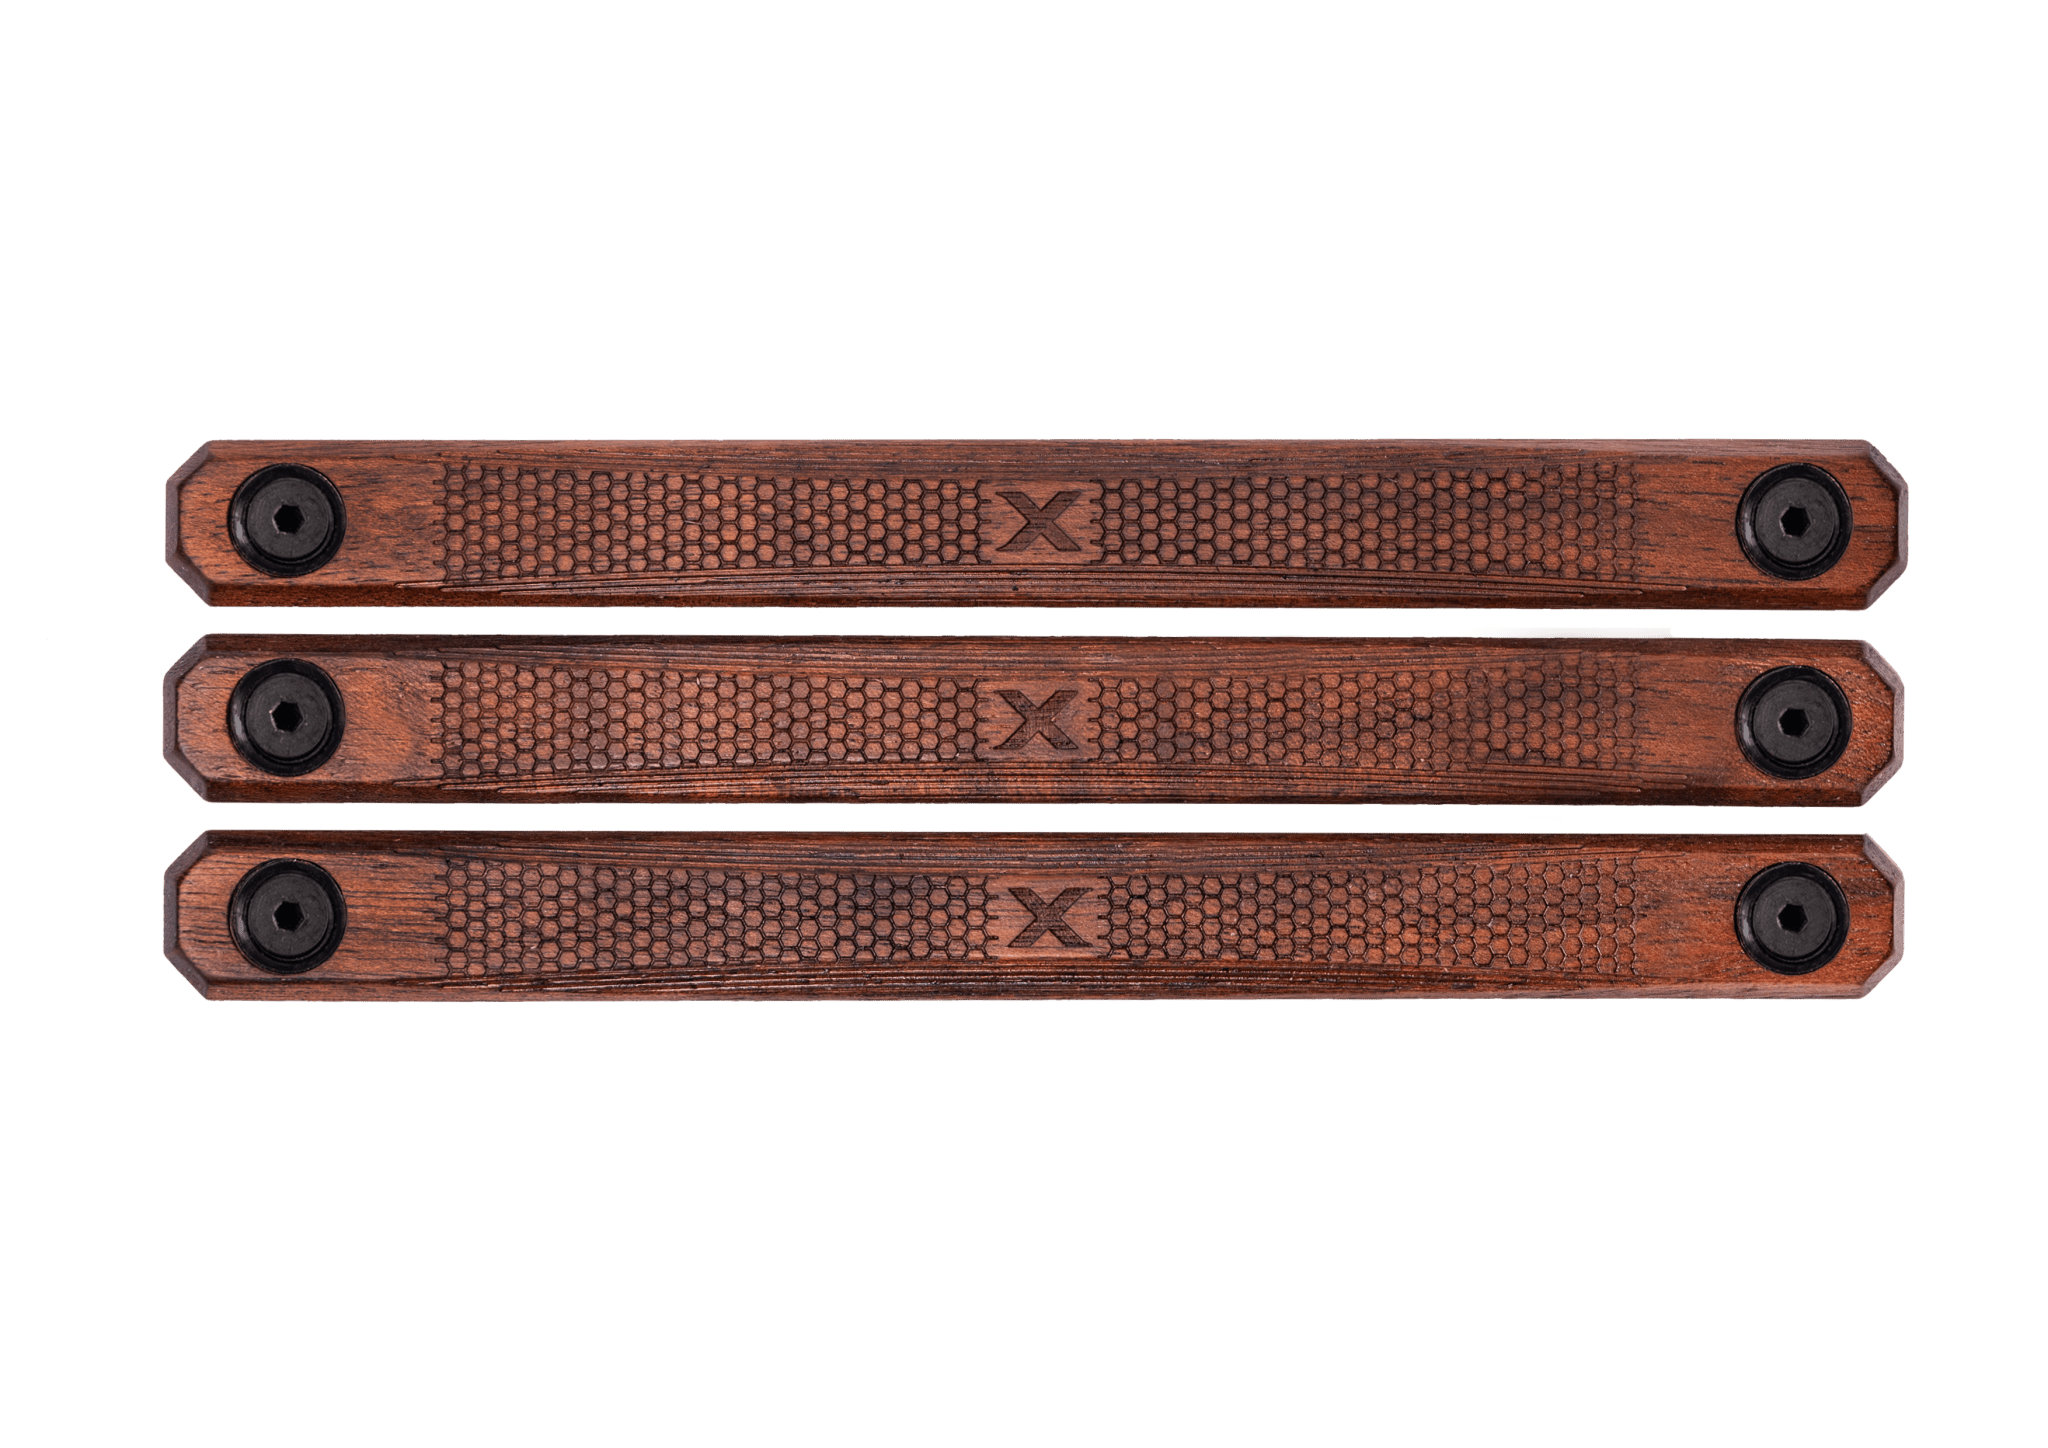
- Rail Covers: Not only do rail covers protect unused portions of your rail, but they can also provide a better grip and prevent snagging. They also protect your hands from the sharp edges of an uncovered rail.
- Balancing Accessories: Don't overload one side of your firearm with accessories. This can throw off the balance of your weapon and make it unwieldy. Try to balance out where and how you place accessories.
- Consistent Pressure: When tightening accessories to the rail, be consistent. Uneven pressure can lead to canting or misalignment, especially with optics.
- Regular Checks: Especially if your firearm sees heavy use, regularly check all mounted accessories for any signs of loosening or wear. This can prevent failures or loss of zero in optics.
Remember, the key to mastering the Picatinny rail system is understanding its capabilities and limits, and practicing regularly with your firearm and its accessories. As with anything, hands-on experience is the best teacher, so spend time at the range and familiarize yourself with your setup.

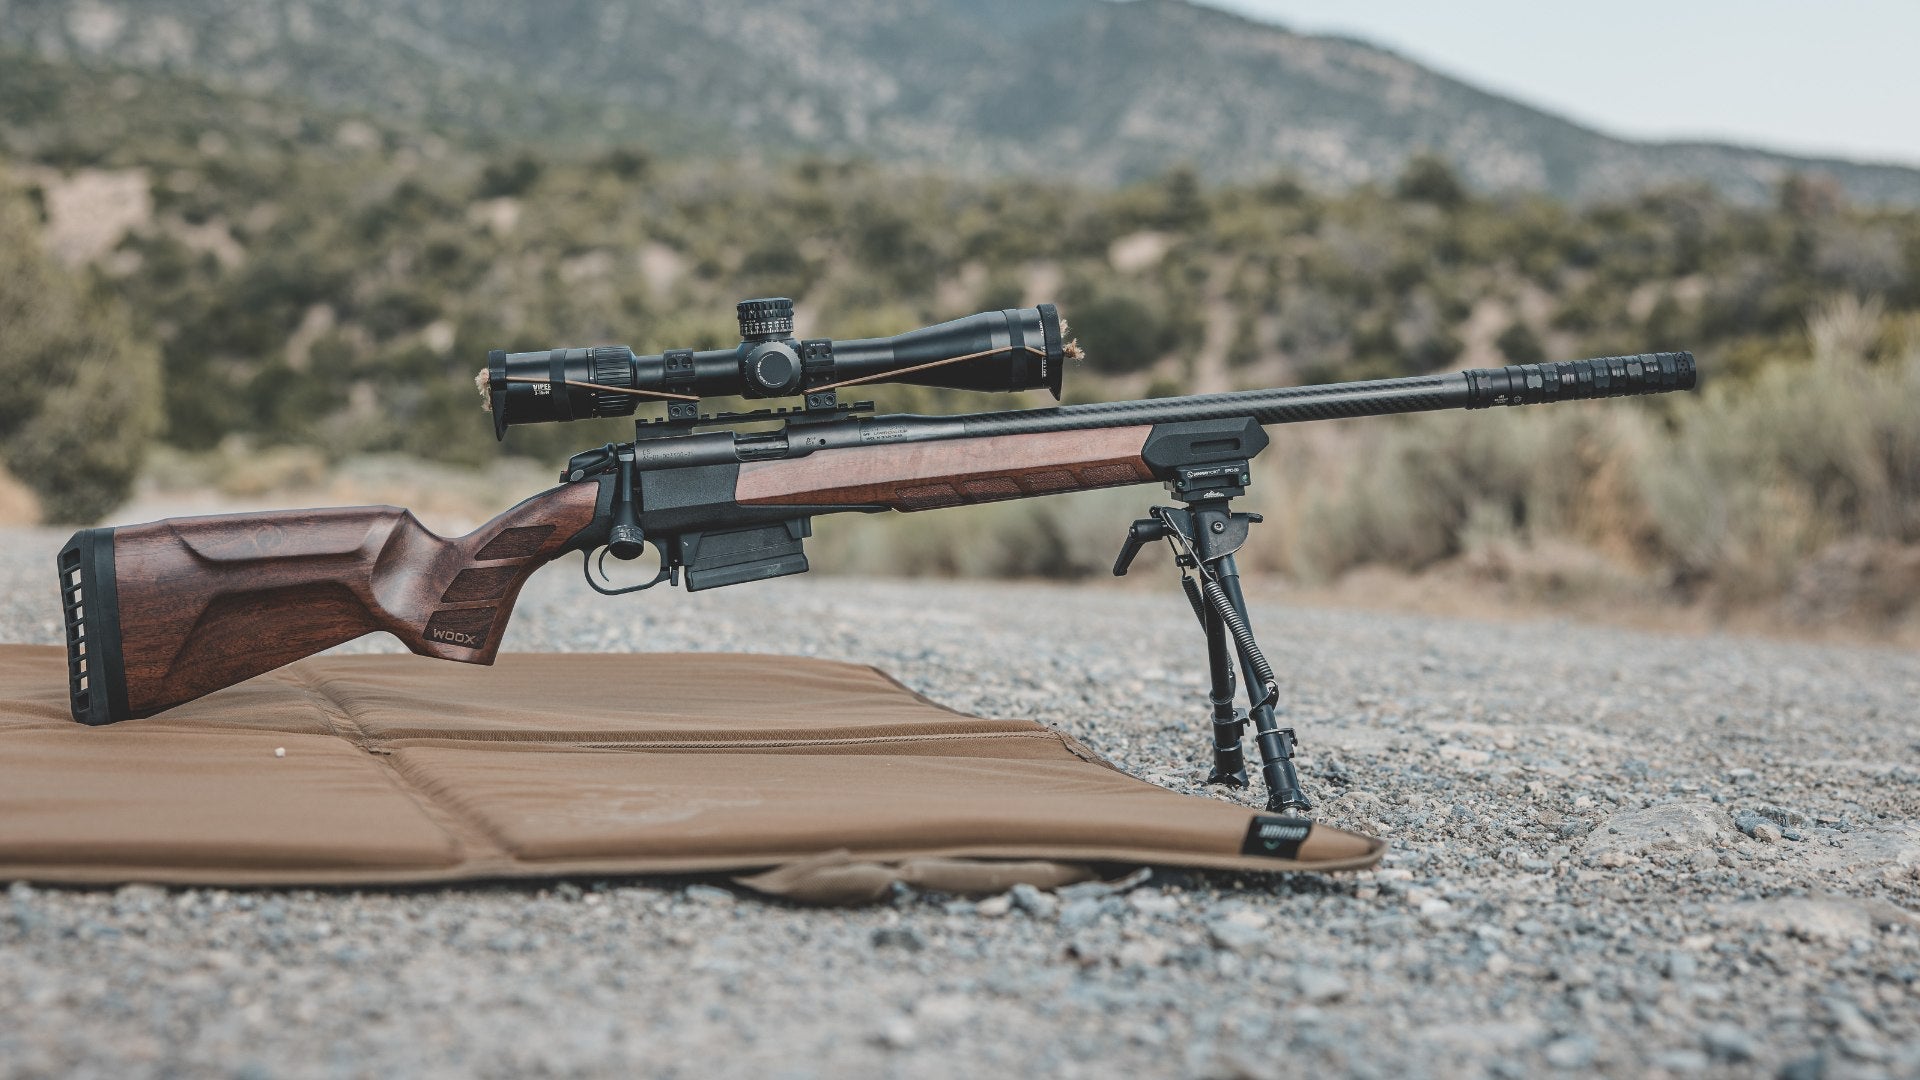
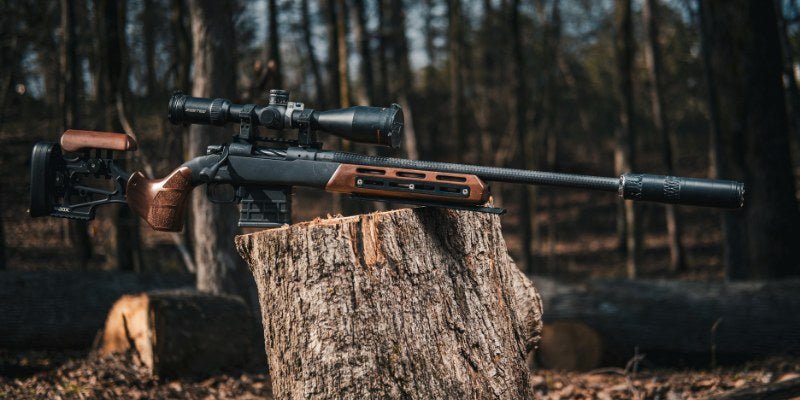
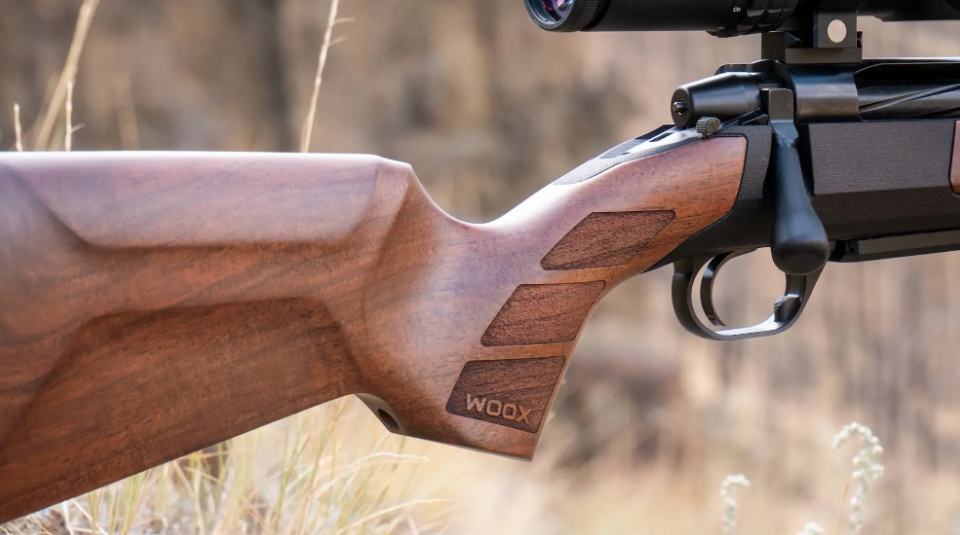
SAVAGE® 110 WOOX stocks and chassis options
• Magazine Factory DM - Detachable
• Action Short/Long
• Bottom Metal DBM
• Bolt Release Configurations • Bottom Bolt Release • Top Bolt Release
• Supported Barrel Sporter / Medium Contour / Heavy Varmint Heavy
• Calibers Accepted 7mm Rem Mag / .300 Win Mag / .300 Rem Ultra Mag / .30-06 Sprg / .25-06 Rem / .270 Win / CIP/CIP+ Calibers / Others 338LM 4.050 actions are not compatible
Keep Reading
M-LOK on Lever Actions: What Accessories Make Sense and What to Avoid
Considering M-LOK on a lever-action rifle? Learn which accessories improve carry, control, and stability, what often hurts rifle balance, and what to confirm before.
Chassis Bedding vs Traditional Stock Bedding: What Actually Changes?
Chassis systems and traditional stock bedding solve the same challenge differently, shaping action support, material behavior, and rifle design.
Heat, Grip, and Control: How Material Choice Changes Firearm Furniture Feel
Learn how walnut, polymer, aluminum, and hybrid firearm furniture affect heat feel, grip, control, balance, and long-term handling.
Common Walnut Stock Care Mistakes: Over-Oiling, Harsh Solvents, and Poor Storage
The most common walnut rifle stock care mistakes, including over-oiling, harsh solvents, poor storage, fast drying, and ignored hardware checks.