GUN PARTS
AXES
KNIVES
5 Simple things that will improve your Accuracy
March 15, 2021 5 min read
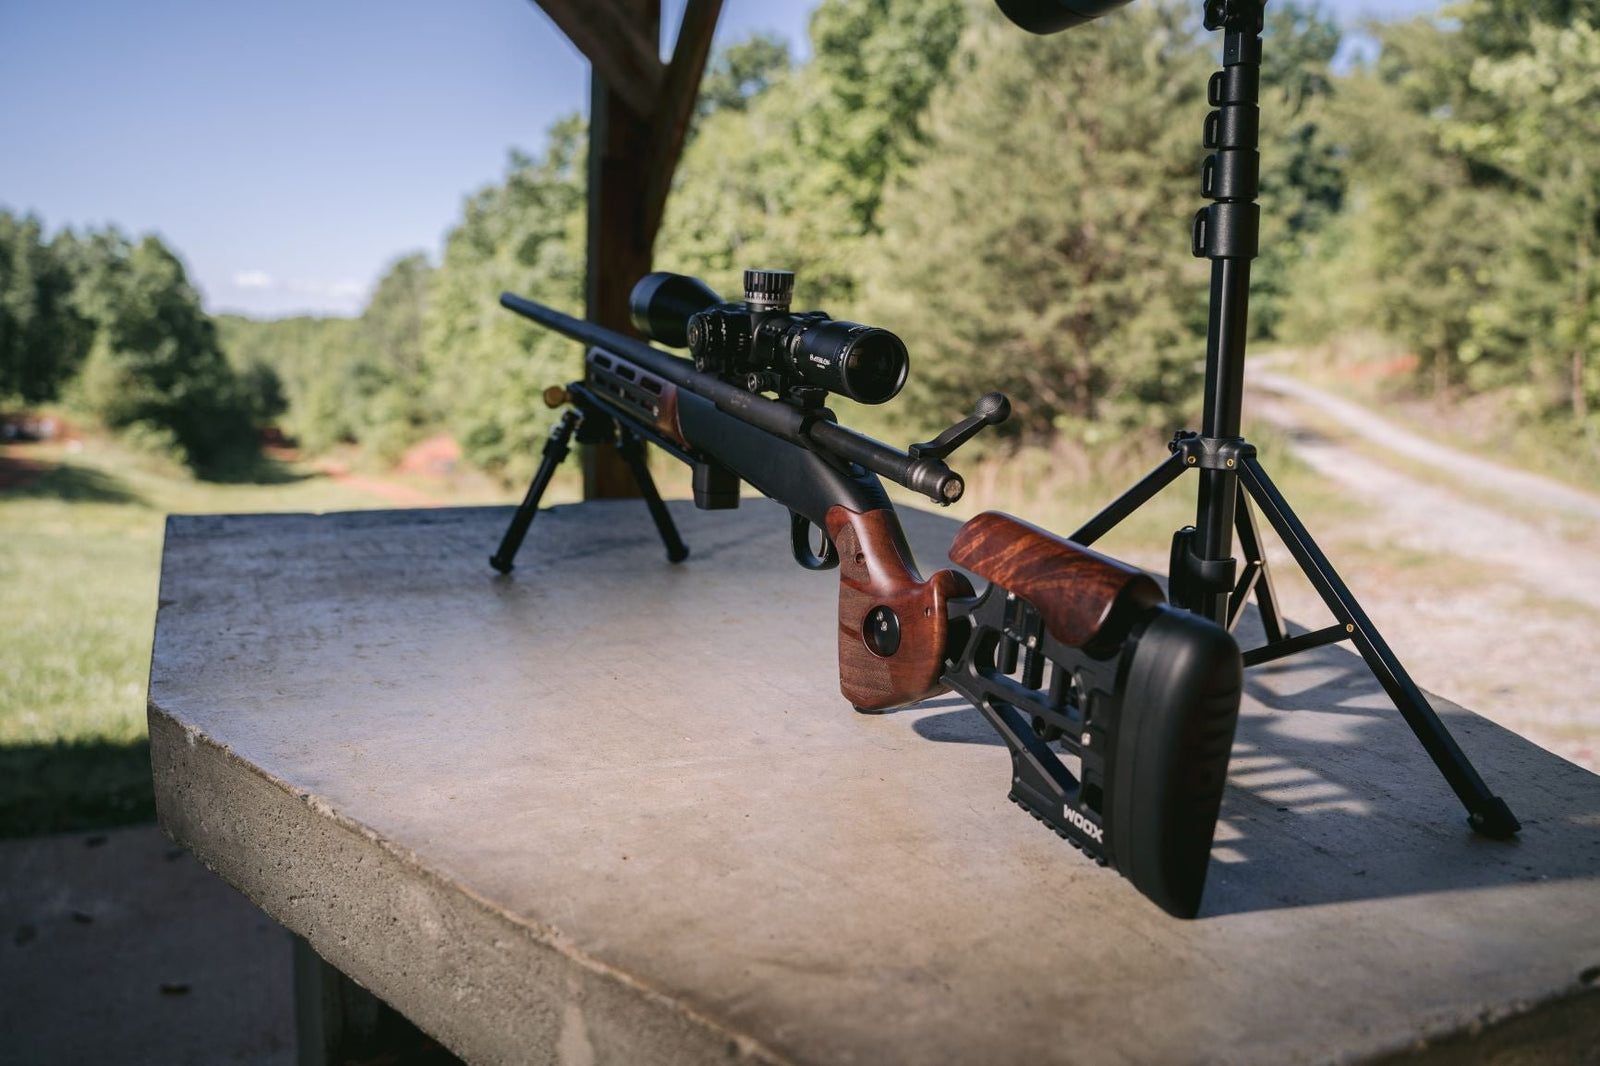
Accuracy. It’s what all shooters want. Regardless of whether you’re a defensive rifle aficionado or a long-range competition shooter, accuracy is something for which you strive. Achieving that accuracy can be difficult, but when you get to the root of it, accuracy is not that complicated. Beginning rifle shooters and grizzled competition veterans alike can all benefit from paying attention to these 5 simple things that, when added up, equal accuracy.
1. Natural Point of Aim
Your Natural Point of Aim (NPoA) is how your sights are aligned when you assume your shooting position. This is before you put any pressure on the rifle and make any adjustments on purpose. Ideally, your NPoA will be aligned with the target before you even look at the sights.
When you first assume your shooting position, get comfortable. Once you’ve done so, check your sights. Are they aligned with the target? If not, adjust your body position until the sights naturally fall into alignment with where you want your impacts to be. You might have to do this several times until you get it to work out, but when you DO get it right you’ve taken one of the variables out of the equation. If you don’t have to move your sights on purpose you have less opportunity to move them in error. Finding your NPoA becomes easier the more you do it, so start practicing this intentionally on your next training session.
2. Sight Alignment/Sight Picture
Sight Alignment and Sight Picture are two different concepts, although they are closely related. The following assumes that you’re using iron sights.

Sight Alignment
Sight Alignment is the proper orientation of your front and rear sights. Proper sight alignment depends on what style of sights you are using on your rifle. Aperture sights have a rear sight with a hole through which the shooter looks at the front post, blade, ramp, or bead. When using this style of sight, the front sight should be perfectly centered in the rear aperture. Open sights have a notch rear sight and a front post, blade, ramp, or bead. When using open sights, the front sight should be centered in the rear notch. The top of the front sights should be even with the top of the rear sights. There should be the same amount of space between the front and the rear sights on the sides. A good way to remember this is “Equal height; equal light.”
Sight Picture
Your sight picture is what is formed when your properly aligned sights are placed over your target. Ideally (as we said above), this should be where your Natural Point of Aim falls. When you form your sight picture, make sure that your eyes are focused on your front sight. The rear sight and the target should be slightly blurred. This is because the impact of your shot is determined by where your front sight is pointed. If it’s high your shot will go high. If it’s low, your shot will go low. The same is true for going to either side. Therefore, all the fundamentals of shooting revolve around working to make your front sight move as little as possible.
3. Trigger Press/Follow-Through

The trigger press/follow-through stage of the shot is where you have the most opportunity to cause your shot to go wide. Let’s assume that you’ve done your job and found your NPoA, and your sights are properly aligned with a good sight picture. Your trigger press is where you start to exert force on the rifle. If your trigger press puts too much pressure to either side, your front sight will move to follow, and so will your shot. The same holds true for upward or downward pressure.
Ideally, your trigger press should put pressure on the rifle in one direction- to the rear. Try to make this a smooth, even motion. Try to isolate your trigger finger and avoid squeezing your other fingers on the rifle’s grip, since they can affect the muzzle’s movement.
Once the trigger breaks, DO NOT STOP your trigger press. Continue the motion in the same smooth, even manner until you reach the end of the trigger’s travel. Hold it there for a second or two and THEN slowly release it until the trigger resets. This follow-through of your trigger press helps ensure that you don’t put any sudden tiny movements in the front sight during the time it takes for the bullet to exit your muzzle.
4. Calling the Shot
Calling the shot is the ability to predict where your bullet will impact. This is based on what your senses tell you as you press the trigger and the shot breaks.Pay attention to what you see as you press the trigger. Watch how your front sight moves. Did you inadvertently squeeze your grip? Did you slap the trigger instead of press it? Did you take the shot during an inhale or exhale? Did you have too much or too little finger on the trigger?
All the above can affect the accuracy of your shot. Knowing if you did anything to make the shot go wide will tell you if a miss was shooter error, or if it was due to some external factor. As you become a more experienced shooter you can just “feel” when a shot is right and when it isn’t. You’ll know if you did something to make it go wrong. You can get training aids (such as the Mantis X) that will help you diagnose these issues until you develop your own ability.
5. Dry Fire Practice
Dry Fire Practice is where you can put all your fundamentals together. During dry fire, you do not use any ammunition. In fact, before you start dry firing you need to ensure that ALL ammunition is in another area. You don’t want a negligent discharge, after all.
After you’ve removed all ammo, assume your shooting position. Work on getting your natural point of aim. When you have a proper sight alignment and picture, start your trigger press. Focus on keeping your front sight as still as possible while you press and follow-through. Repeat this over and over and pay attention to where you think your shot would fall. Again, you can get training aids like the Mantis as well as laser training emitters and targets that will TELL you where your shots are falling.
If you pay attention to the five simple things above, and above all practice them frequently, you are sure to see your groups tighten up. Do you have any tips that I forgot? Don’t hesitate to drop them in the comments below- I want to hear from you!
Leave a comment
Comments will be approved before showing up.
Also in Woox Journal

Henry HUSH & Bravado High Grade Series: A Suppressed Lever‑Action Rig Built for the Hunt
February 06, 2026 1 min read
The Bravado High Grade Series blends classic lever action with modern optics and suppression, creating a versatile, quiet hunting rifle ready for any terrain.

Woox Edge MP5K Build Guide — Suppressed Precision & Tactical Performance
January 28, 2026 1 min read
Turn a classic HK MP5K into a next-level tactical rig with quality upgrades like Midwest Industries rails, B&T suppressor, Cloud Defensive REIN light, and EOTech EXPS3-0 optic for unmatched performance.

Bergara for Furiosa Walnut: Precision in the Backcountry
January 12, 2026 1 min read
Furiosa Walnut blends the Bergara Crest 6.5 PRC rifle with Burris Veracity PH optics, JK RPX‑30 suppressor, and protective Burnproof wrap for rugged backcountry precision.
STICK AROUND AND STAY UPDATED!
Want the latest promotions, expert tips, and a cool sticker set?
Subscribe to our newsletter today.
Spam? Not on our watch!


